Microwave Rice Krispie Treats Recipe
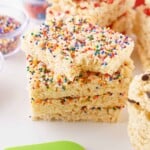
There's no reason to buy store-bought cereal treats when you can easily whip up a big batch of snacks in minutes! With this quick and easy microwave Rice Krispie treats recipe, you can use a sheet pan to make a variety of fun treats in one giant pan. Cut them into individual bars to serve up a sweet snack to your kids with just a few minutes of prep work.
This post contains affiliate links. As an Amazon Affiliate, I earn a commission on qualifying purchases.
What Do I Need to Make This Microwave Rice Krispie Treats Recipe?
Since this easy treat recipe is made with just three ingredients, it couldn't be simpler to make! Just grab these items to get ready to whip up a batch of delicious Rice Krispies treats right now:
- Puffed rice cereal
- Mini marshmallows
- Salted butter
How Do I Make This Microwave Rice Krispies Treats Recipe?
The key to making this simple treat recipe is using your microwave to speed up the cooking process! After you grab your ingredients, follow these easy steps to make a giant batch of sheet pan rice Krispies right now!
Step One: Prep the Pan
Once you mix the ingredients and cook them in the microwave, you'll need to work quickly. That's why it's a good idea to prep your pan before you start mixing. Line an 11x15 inch baking sheet with parchment paper, allowing the edges of the paper to overhang the sides of the pan to make it easy to remove the treats when they're cool.
Step Two: Microwave the Marshmallows
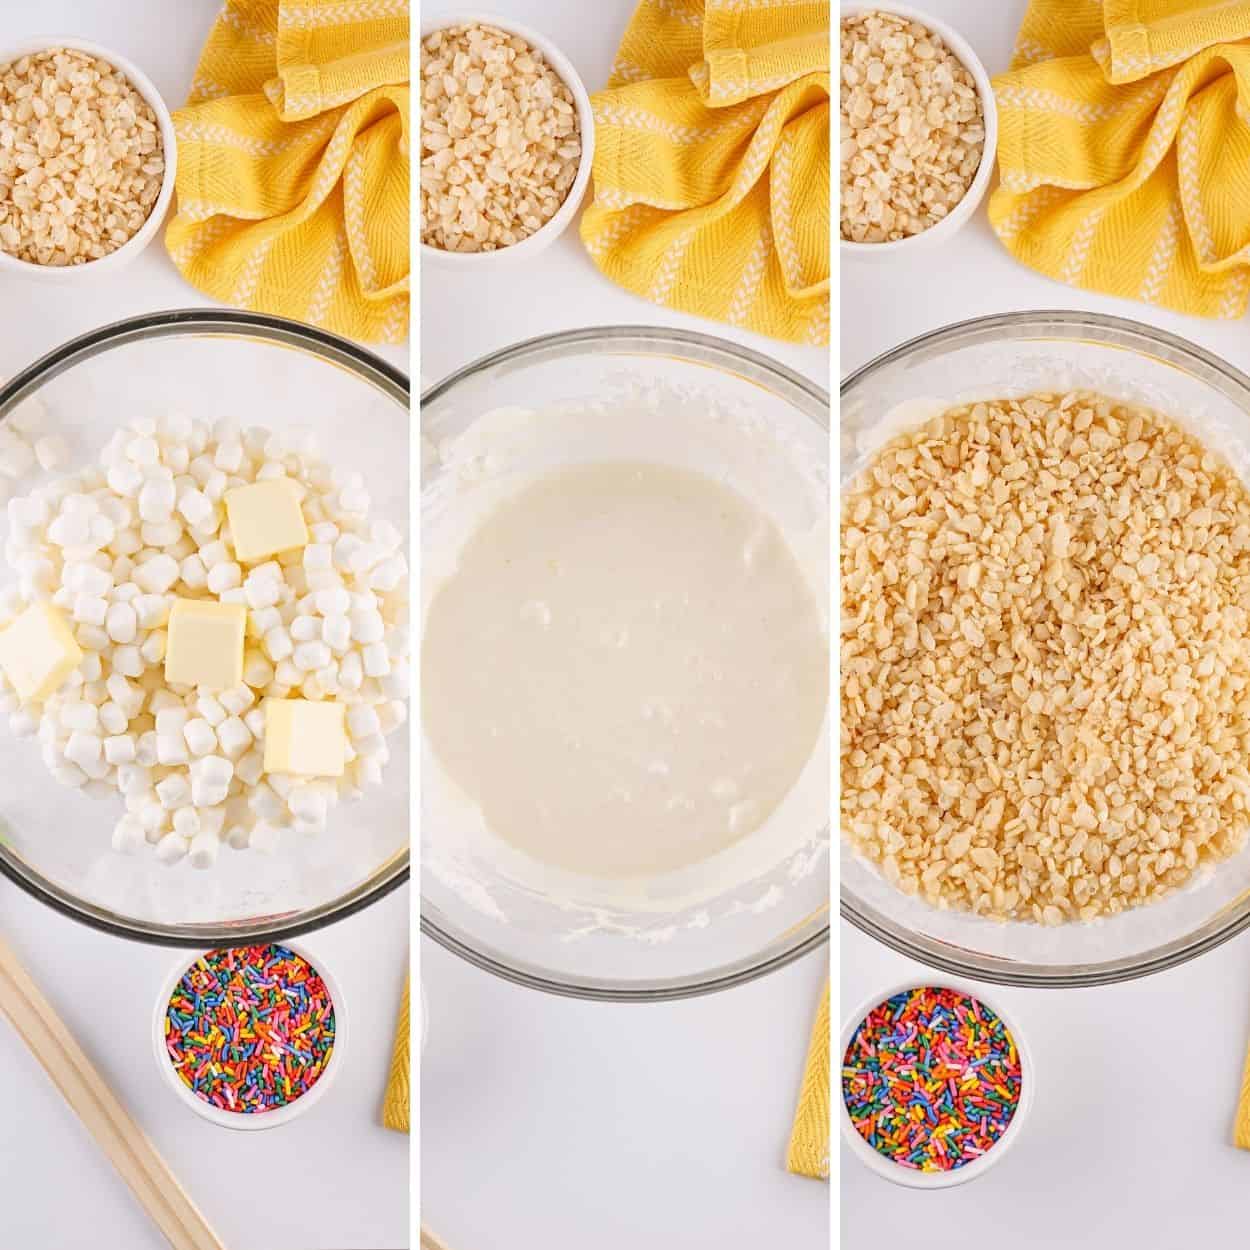
Grab a very large microwave-safe bowl and add the mini marshmallows and butter. Microwave on high for two minutes, until the butter is fully melted and the marshmallows are puffy. Use a spoon to stir vigorously until the butter is fully mixed into the melted marshmallows.
Step Three: Add the Cereal
Pour the puffed rice cereal into the bowl with the melted marshmallows and carefully stir. Continue mixing until all the cereal is fully coated in marshmallows. Make sure to scrape the bottom and sides of the bowl with your spoon as you stir to ensure all the marshmallows are mixed into the cereal.
 Step Four: Press into Bars
Would you like to save this?
Pour the mixture onto your prepared baking sheet. Then, spray your hands with nonstick cooking spray and use them to press the mixture into an even bar with your hands. Use a light touch when pressing the cereal into place to keep the bars from becoming too hard.
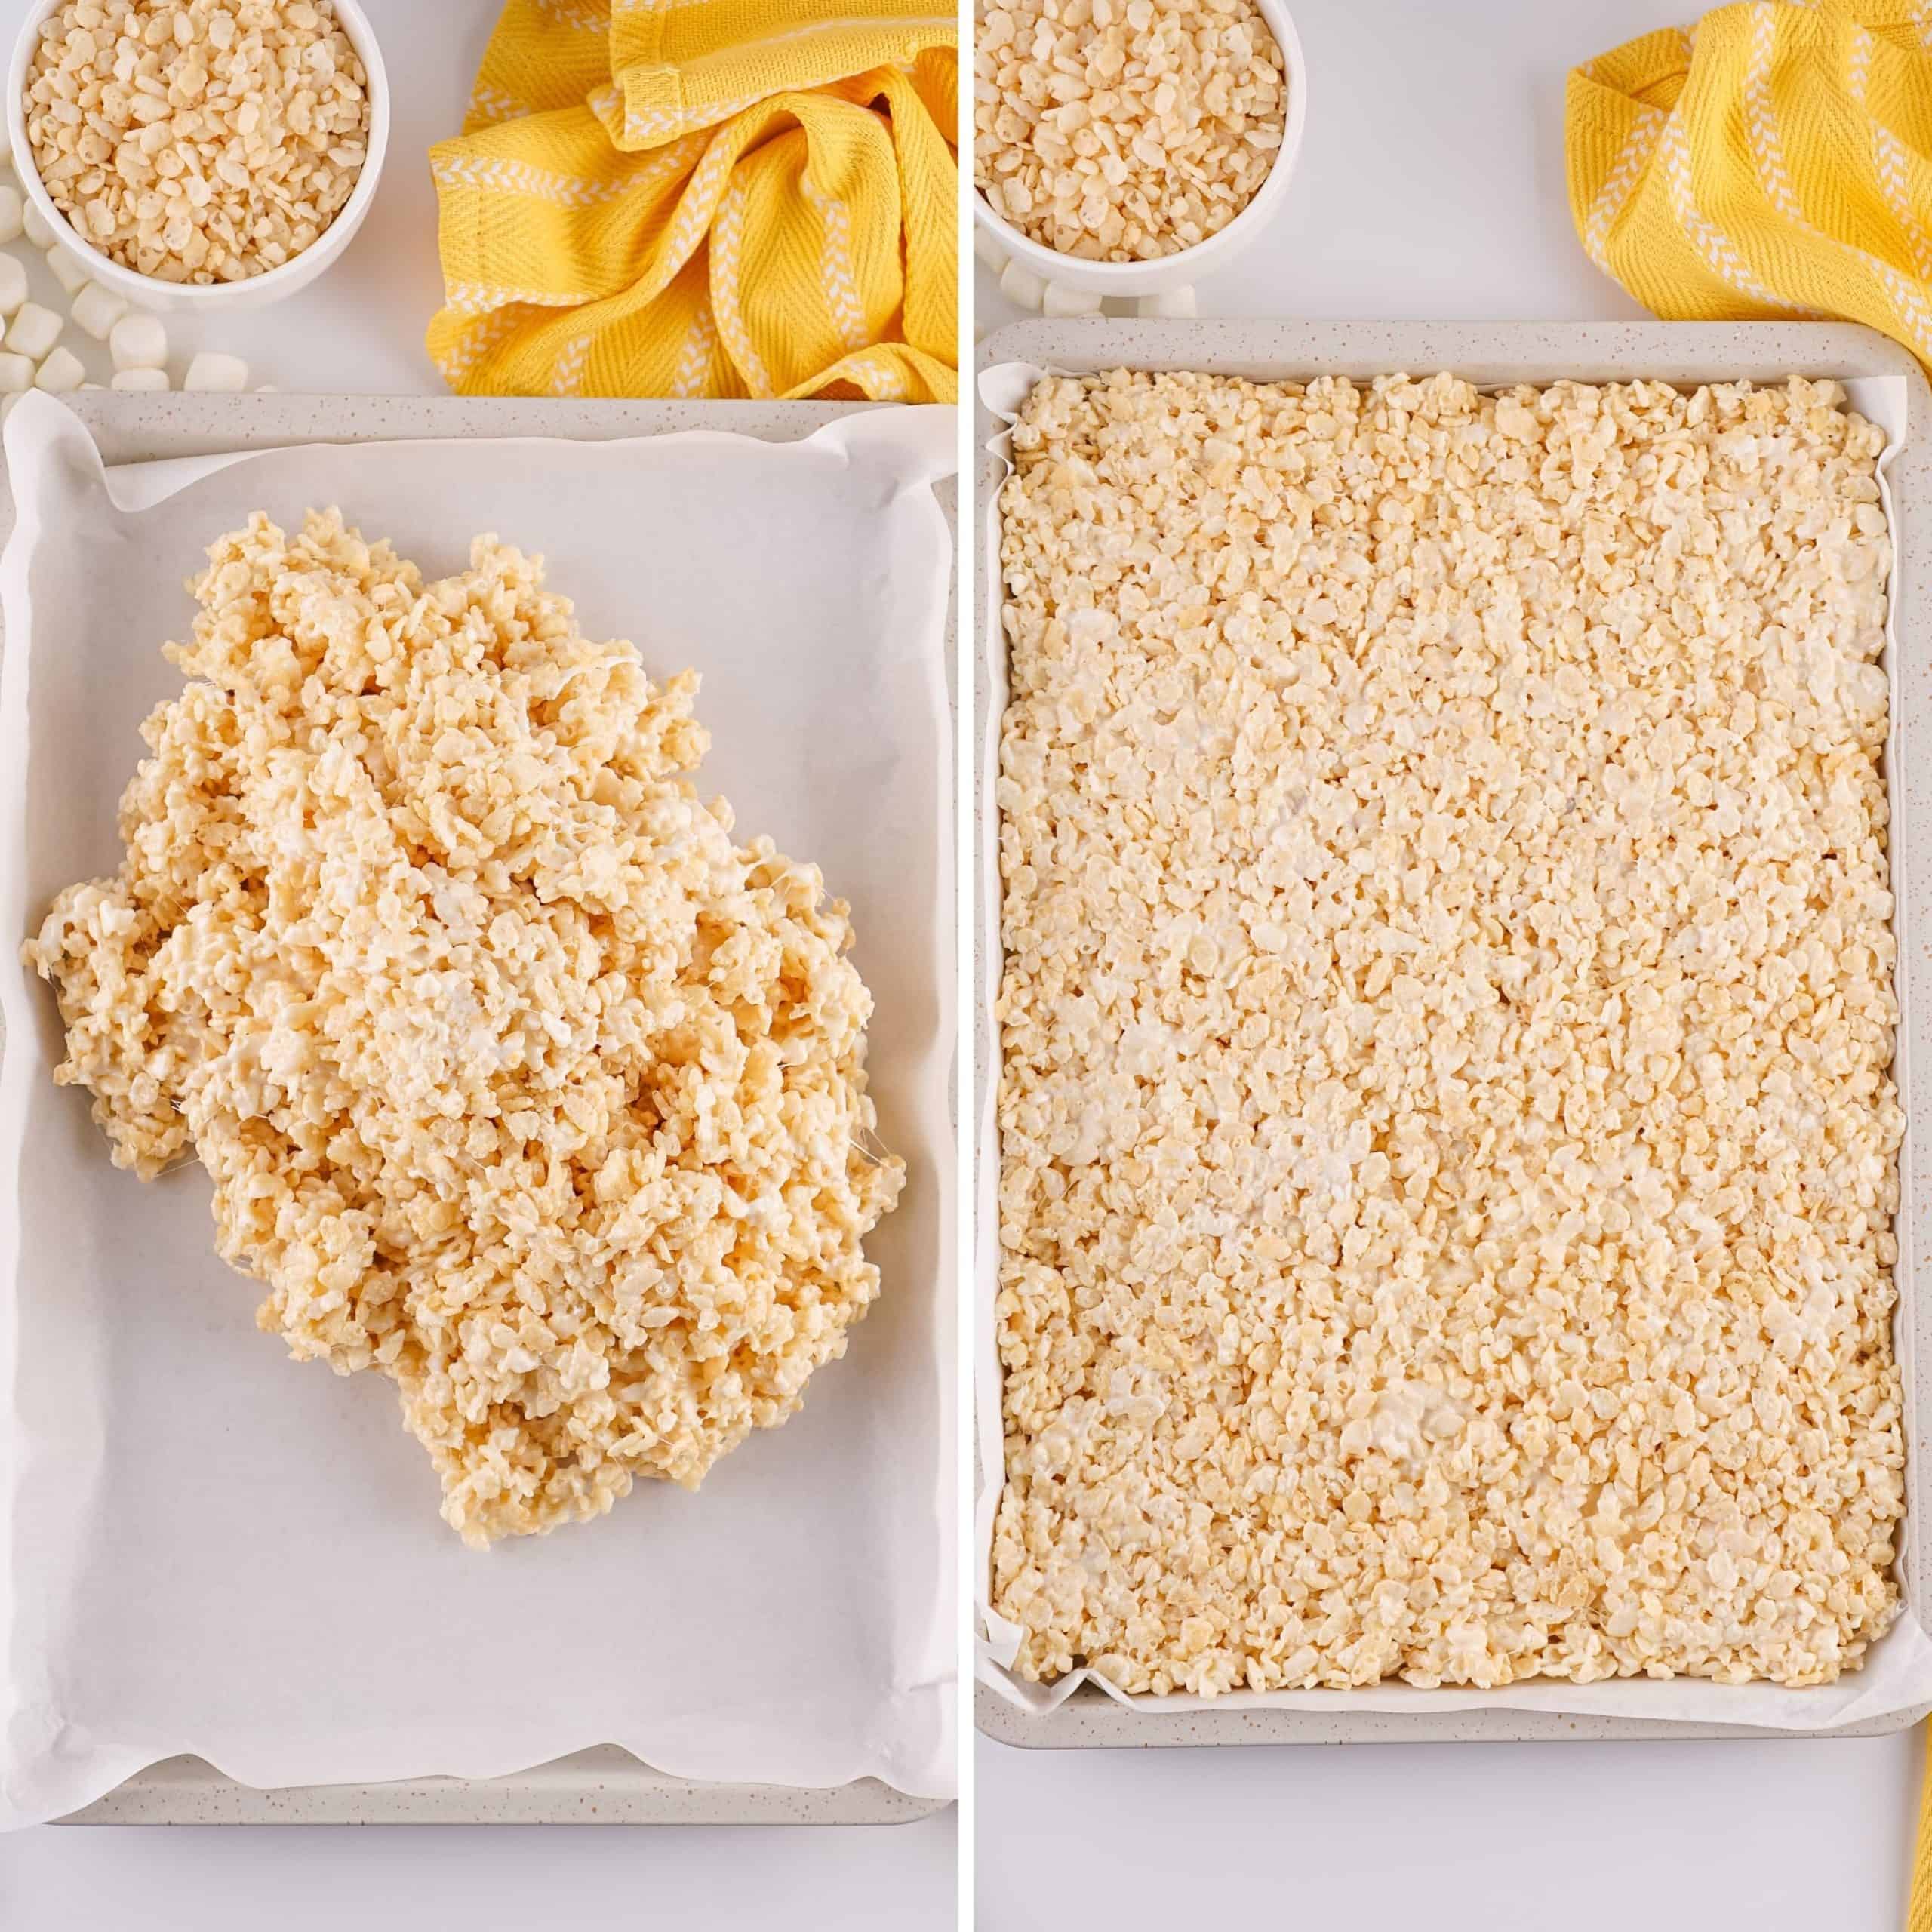
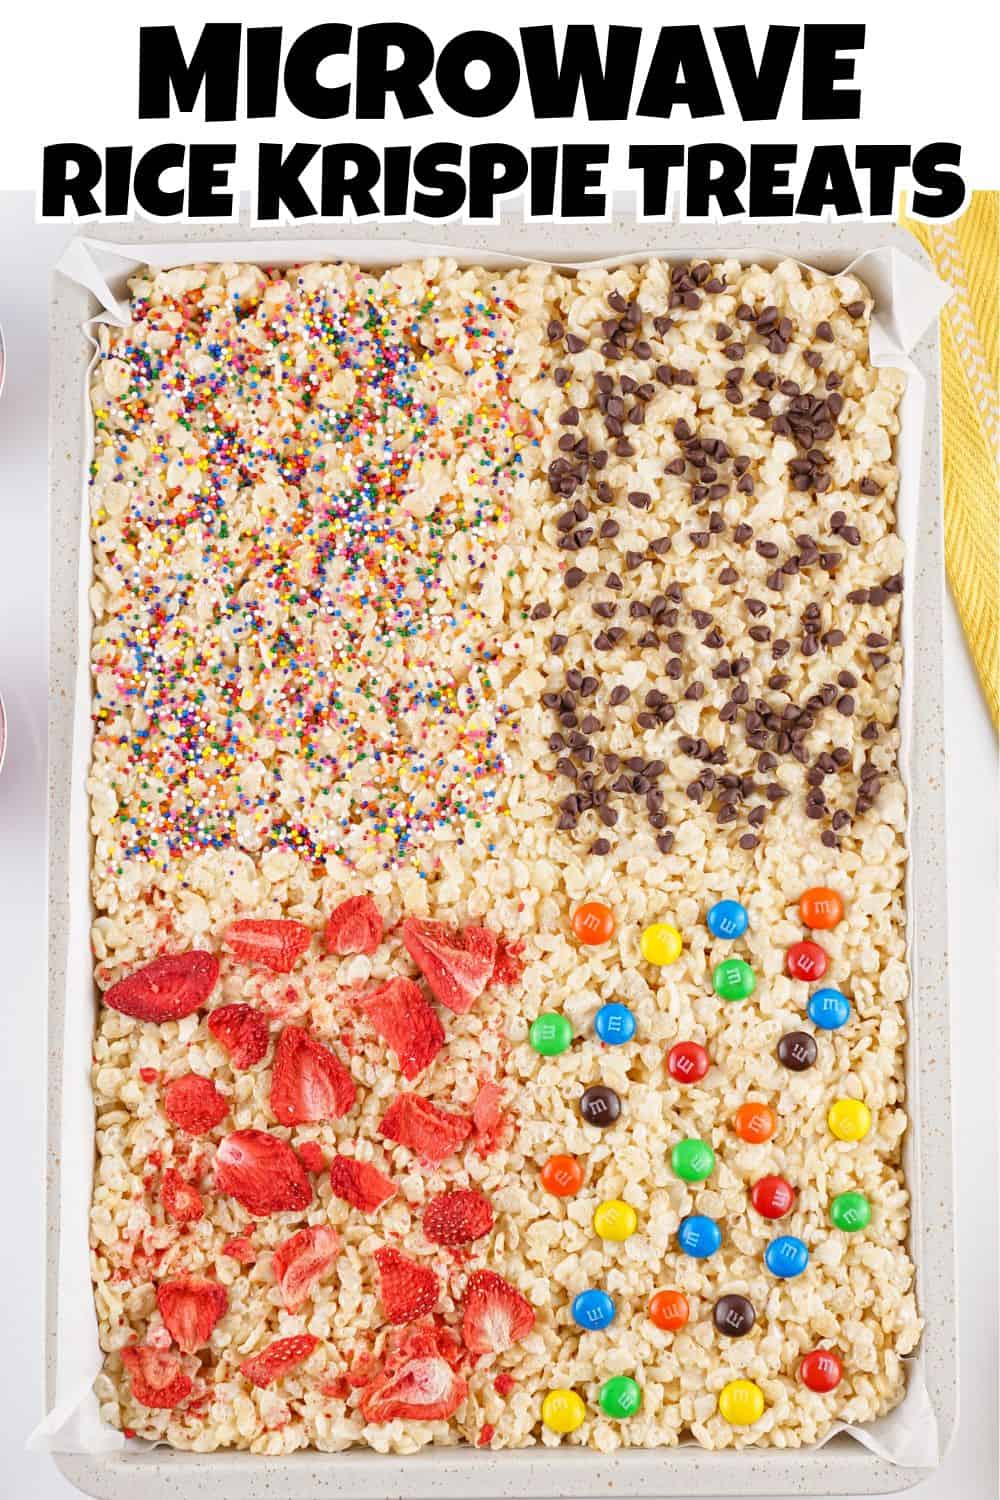
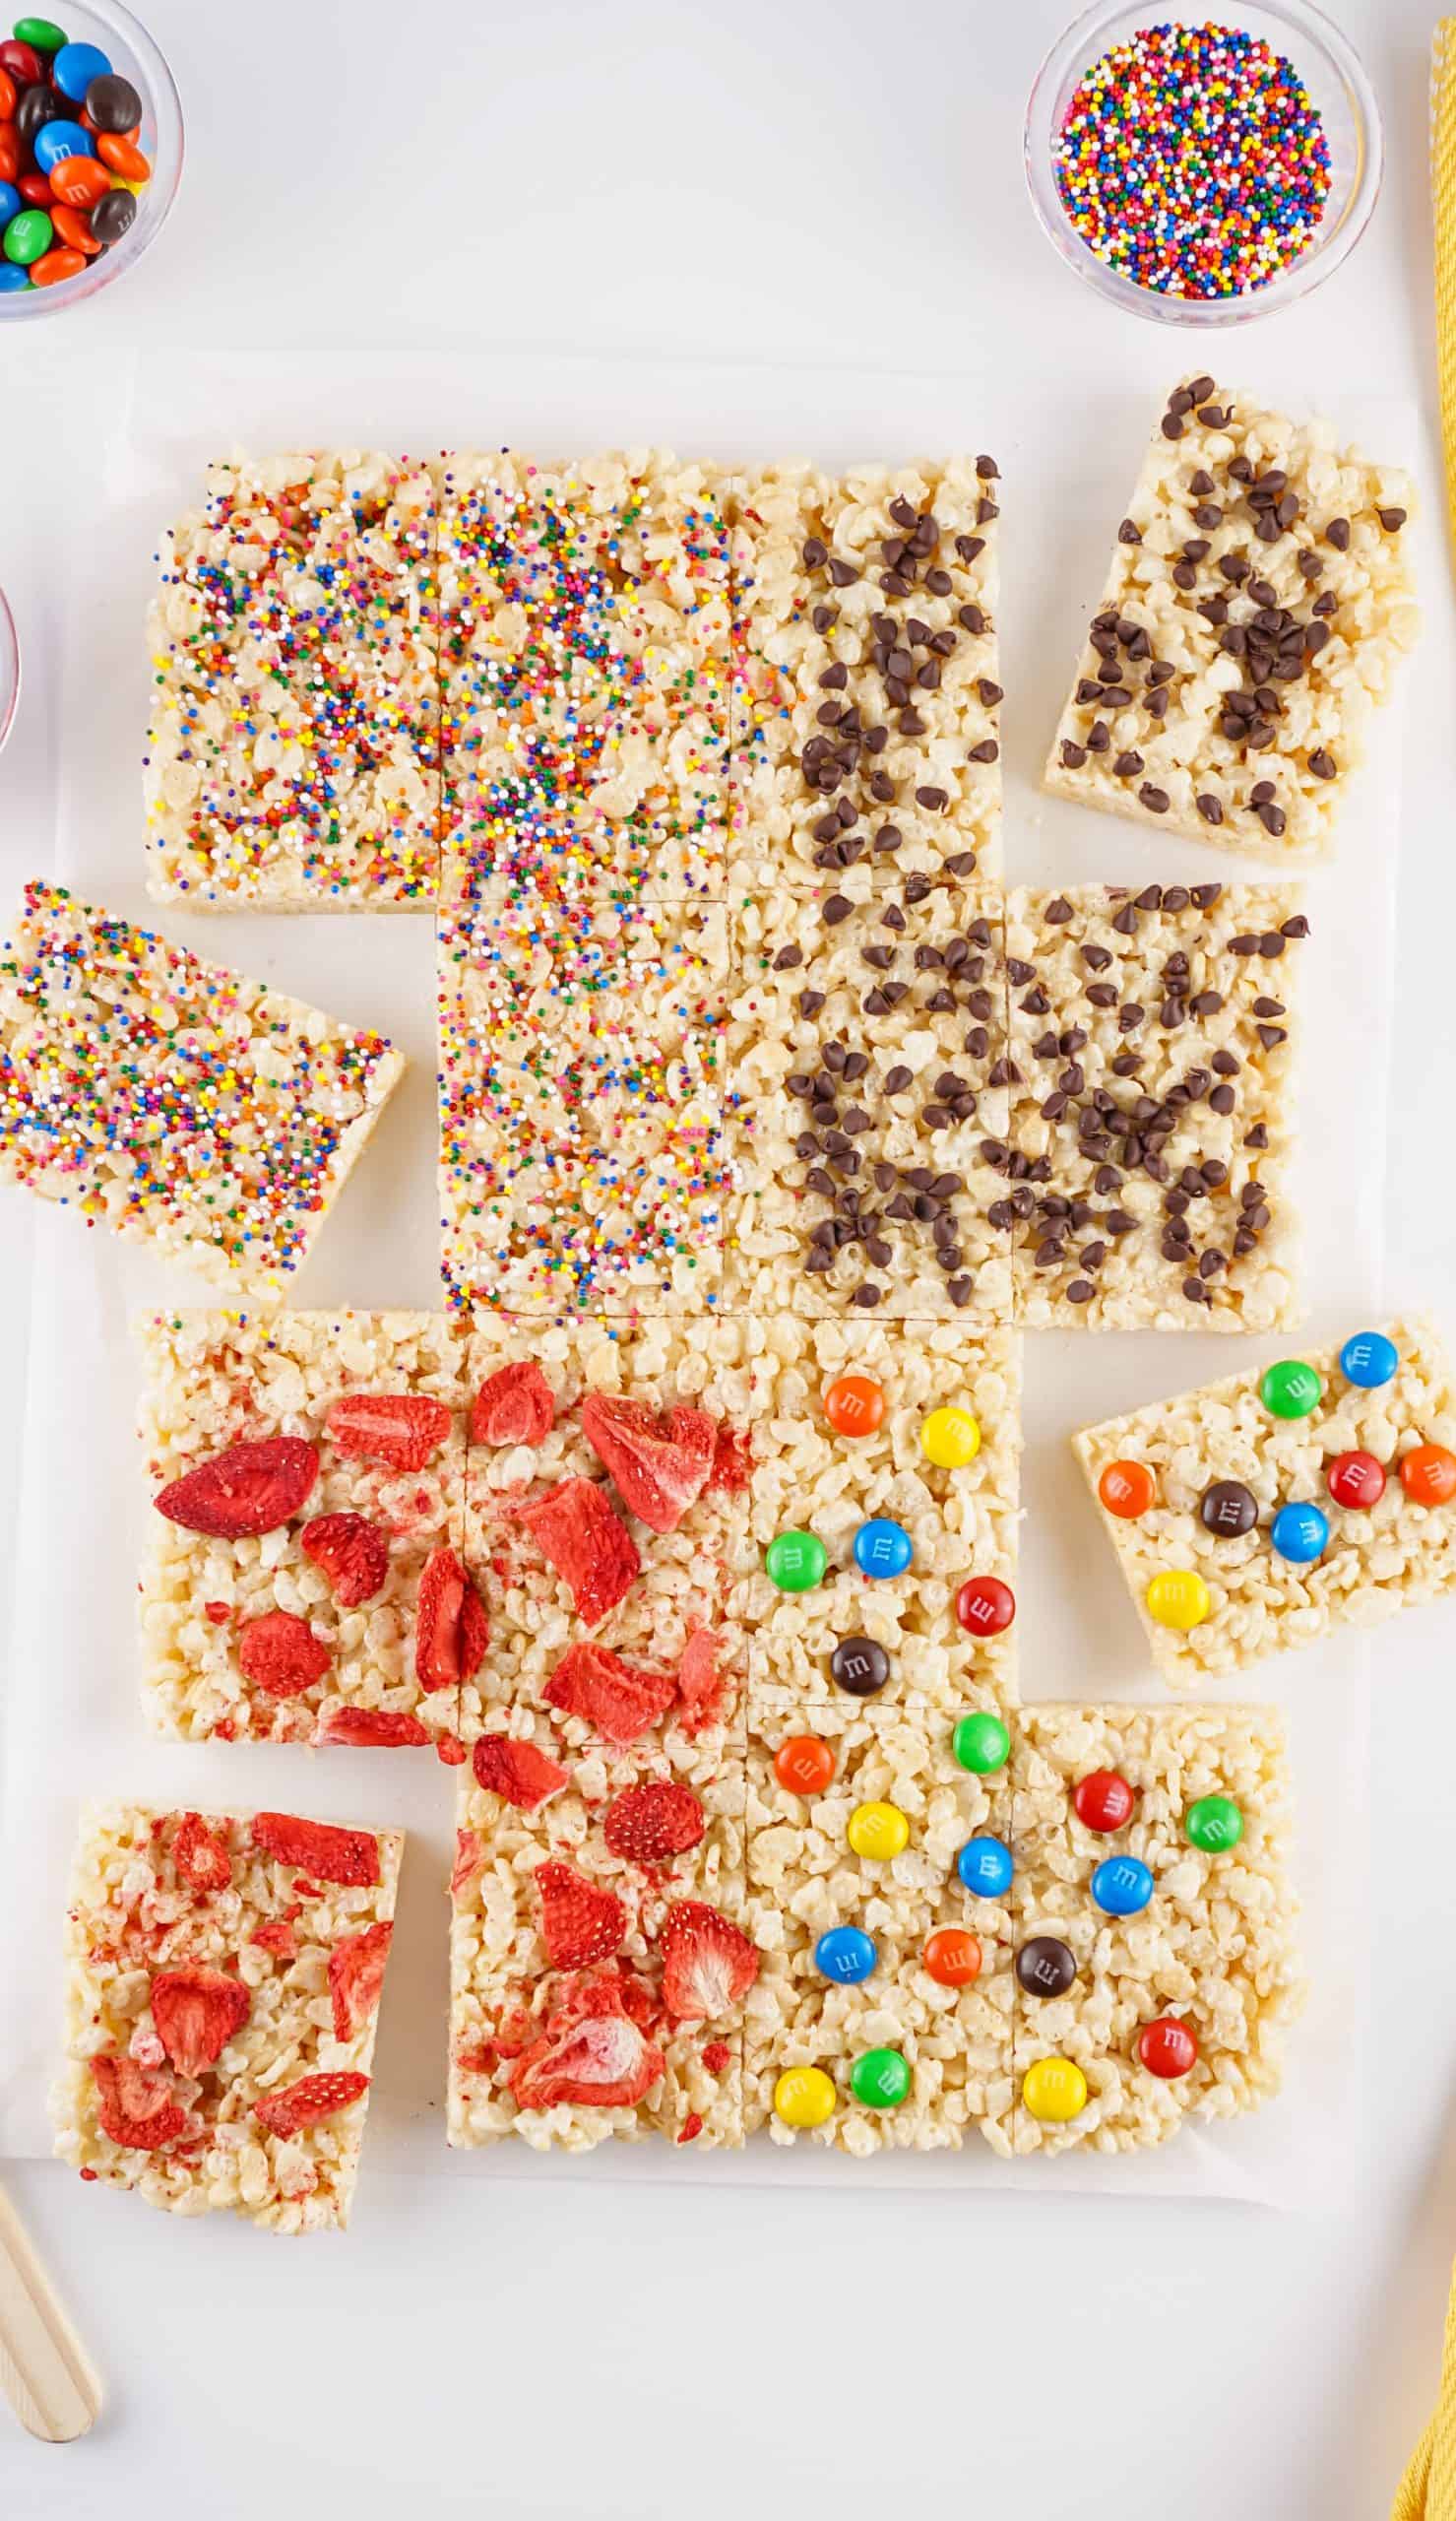
Step Five: Add Toppings
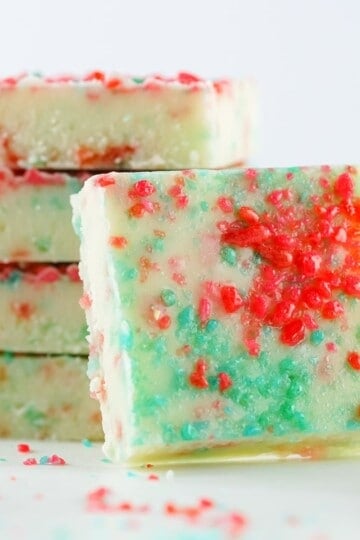
You can keep your rice Krispies treats plain if you prefer. Or you can add toppings to the bars! Sprinkle your desired toppings over the top of the bars in an even layer. Then, lightly press them into place.
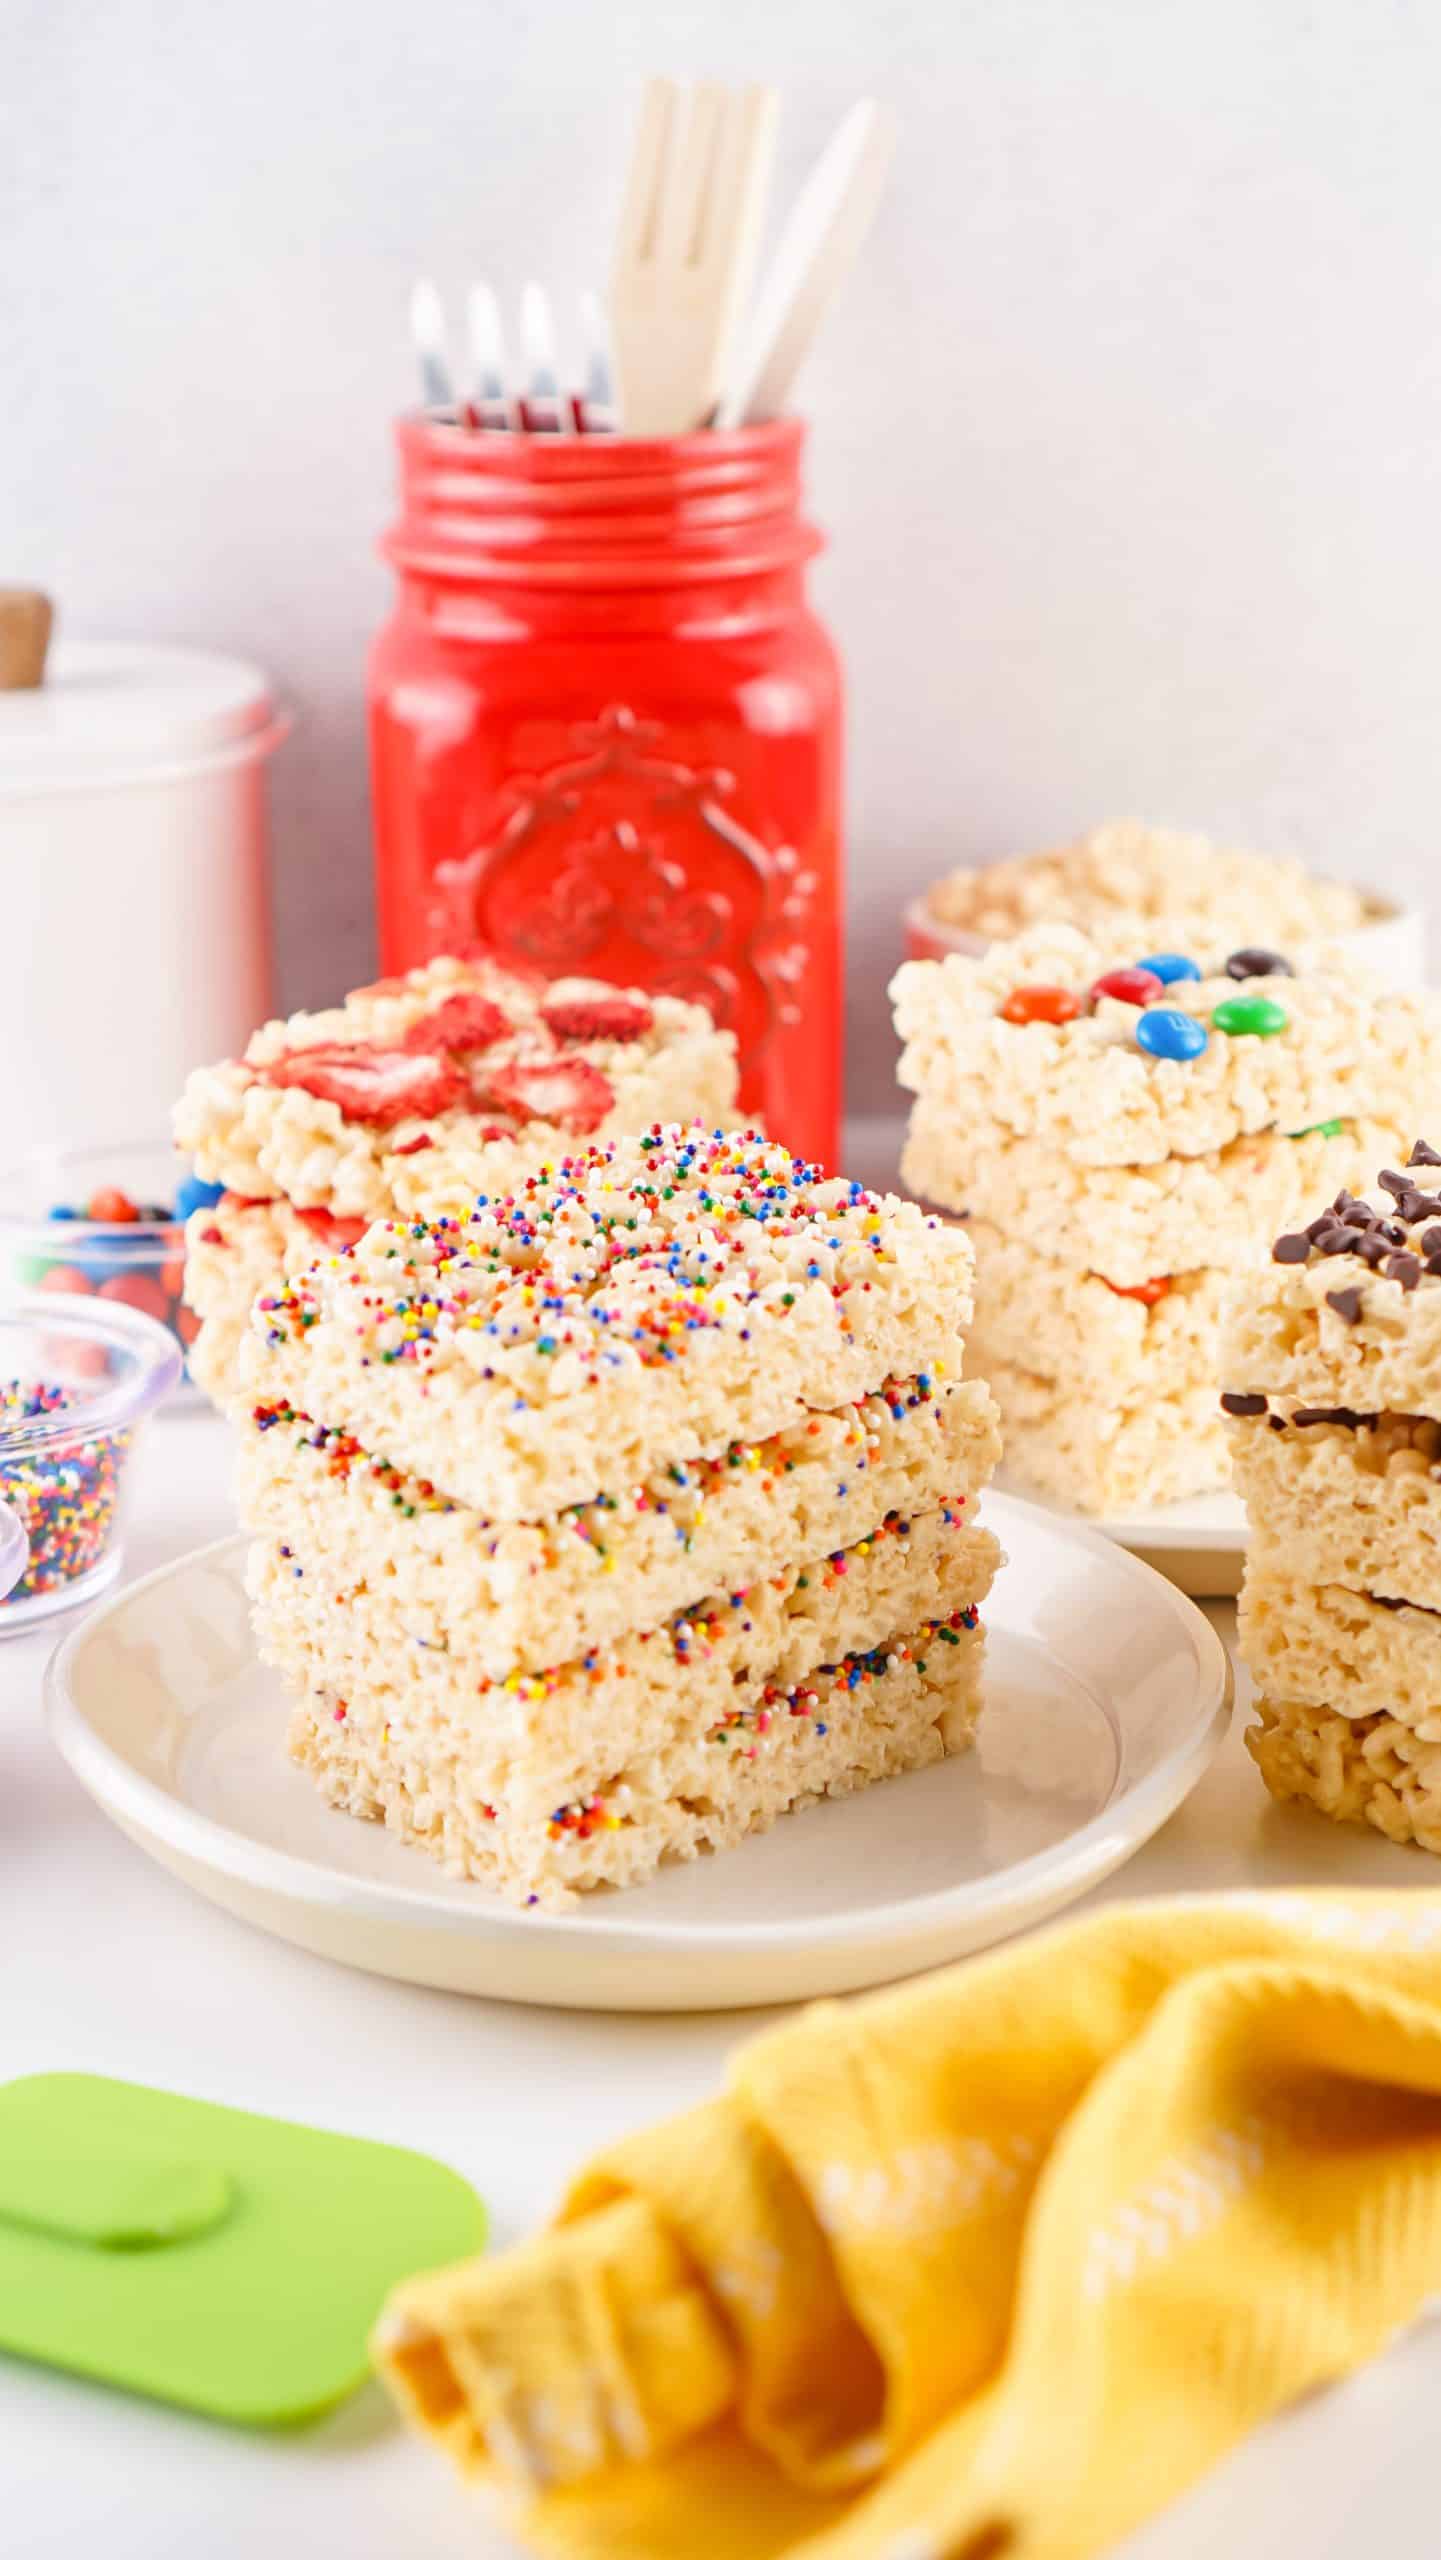
Step Six: Cut into Bars
Allow the treats to rest in the pan for around 45 minutes, until they are completely cooled and fully set. Then, use a large, sharp knife to cut the treats into bars before serving.
Microwave Rice Krispies Treats Tips
You won't believe how easy it is to make these no bake treats using your microwave! And with these helpful tips and tricks, you'll be able to whip them up without any trouble at all.
- Cut the butter into slices for even melting. To ensure your butter melts completely in the microwave, it's a good idea to slice your butter. Simply use a knife to cut the butter into several thin slices before adding it to the bowl with your marshmallows.
- Make sure to use fresh marshmallows. Since marshmallows tend to harden as they sit, it's important to use fresh marshmallows in this recipe. Make sure to use a full, unopened bag for the best texture and flavor.
- Use big marshmallows. Don't have any mini marshmallows on hand? You can also use full-sized marshmallows to make rice Krispie treats in the microwave. The full-sized marshmallows may take slightly longer to melt in the microwave than the mini version.
How to Store Rice Krispies Treats?
Once your treats have fully cooled and you cut them into bars, it's best to store them in an airtight container at room temperature. If you plan to stack the treats in a container, make sure to place a piece of parchment paper or wax paper between the layers to keep them from sticking together.
It's not a good idea to store your treats in the fridge or freezer. The cold temperature will cause the marshmallows to harden, making the treats very difficult to eat.
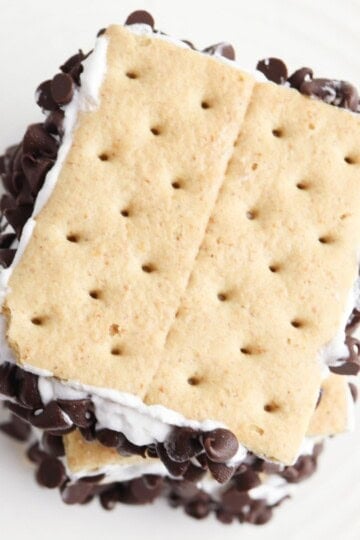
Rice Krispie Treat Variations
Now that you know how to make basic rice Krispie treats using your microwave, the variation options are endless! Try these fun topping and addition ideas to create a delicious cereal treat for your kids:
- Candy, like M&Ms, Reese's Pieces, or chopped candy bars
- Baking chips, like chocolate, peanut butter, caramel, or butterscotch
- Drizzles, like melted chocolate, chocolate sauce, caramel sauce, or hot fudge
- Dried fruit, like strawberries, raisins, Craisins, pineapple, or mango
- Spreads, like peanut butter, almond butter, or Nutella
- Sprinkles of any kind
- Chocolate or strawberry Rice Krispies in place of plain cereal

Microwave Rice Krispie Treats Recipe
Equipment
- 11x15 Baking Sheet
Ingredients
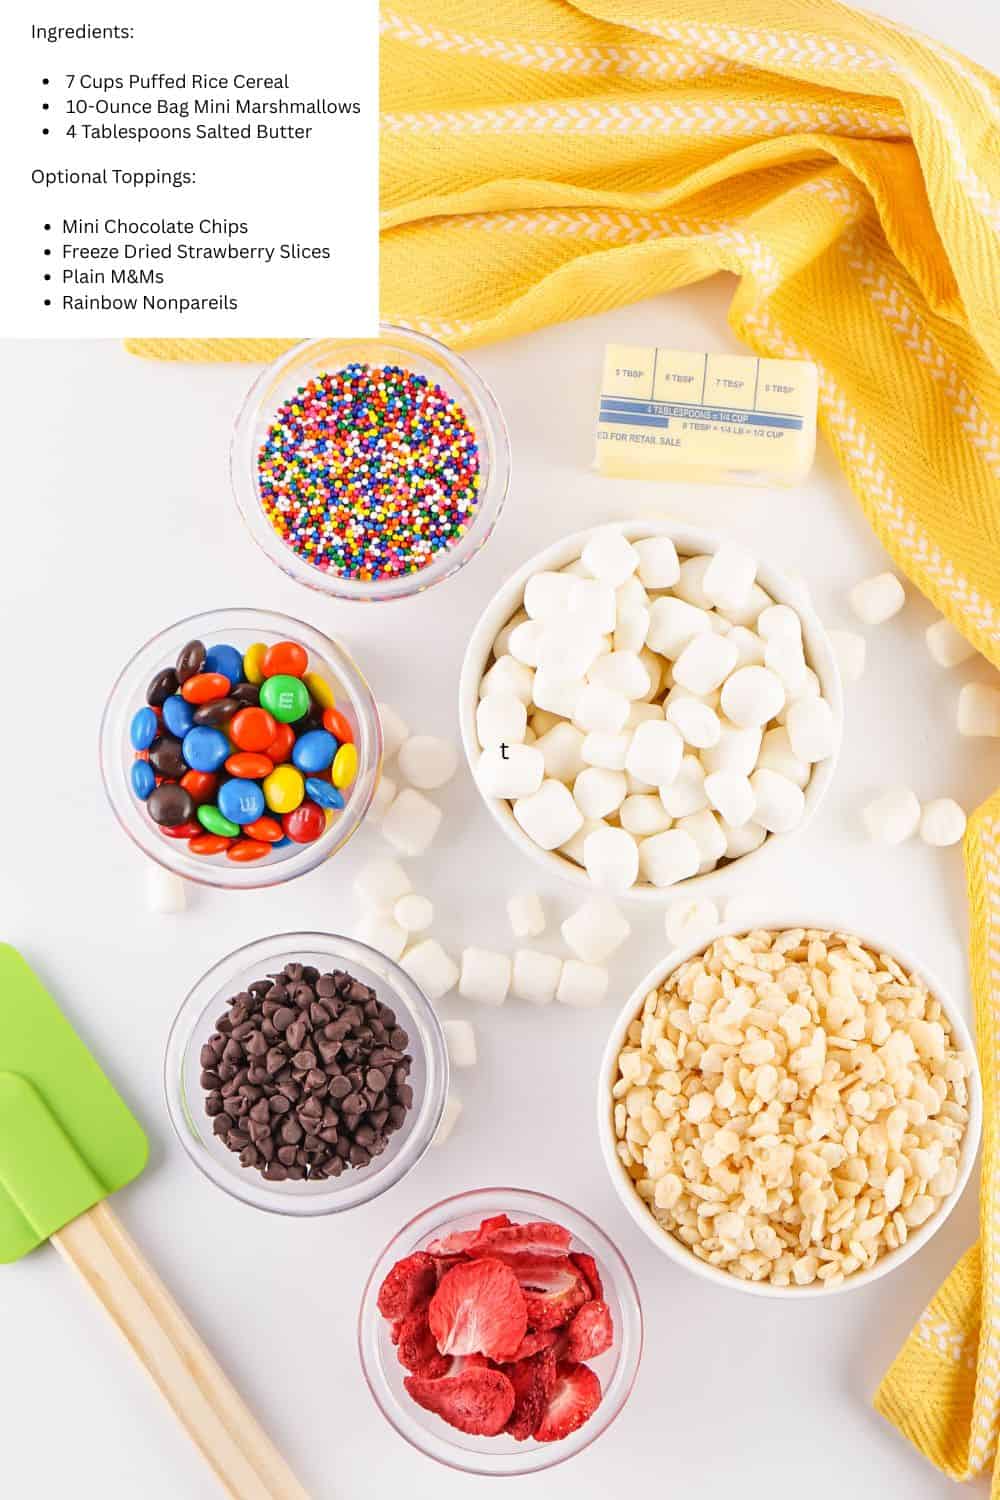
- Ingredients:
- 7 Cups Puffed Rice Cereal
- 10- Ounce Bag Mini Marshmallows
- 4 Tablespoons Salted Butter
- Optional Toppings:
- Mini Chocolate Chips
- Freeze Dried Strawberry Slices
- Plain M&Ms
- Rainbow Nonpareils
Instructions
- Line an 11x15 baking sheet with parchment paper, leaving just a bit to overhang for easy removal from the pan. Set aside.
- Combine the mini marshmallow and butter into a large mixing bowl and microwave on high for 2 minutes.
- Stir vigorously until the butter has dissolved and the marshmallows have fully melted.
- Add the puffed rice cereal to the bowl with the melted marshmallows and stir until the cereal is fully coated.
- Dump the mixture onto the prepared pan.
- Spray hands with nonstick spray and spread the mixture even and lightly press down to make it an even surface on the top.
- Top the mixture with 4 different toppings, covering a fourth of the pan with each one. It’s helpful to start with the larger toppings first, in order for them to stick the best.
- Let the treats rest for about 45 minutes or until cool and set.
- Slice each section into fourths. Serve and enjoy!
Notes
• If you’re using a stick of butter, separate the stick into slices of 1 tablespoon each or it won’t melt properly in the microwave.
• You can choose any toppings you, or your kids, prefer. Some of our favorites I didn’t include above have been peanut butter, jam, hot fudge, melted chocolate, sprinkles of all kinds, and Nutella.
• Newer marshmallows work the best. Stale marshmallows tend to not do as well.


8 Comments