
No Bake Mini Oreo Cheesecakes
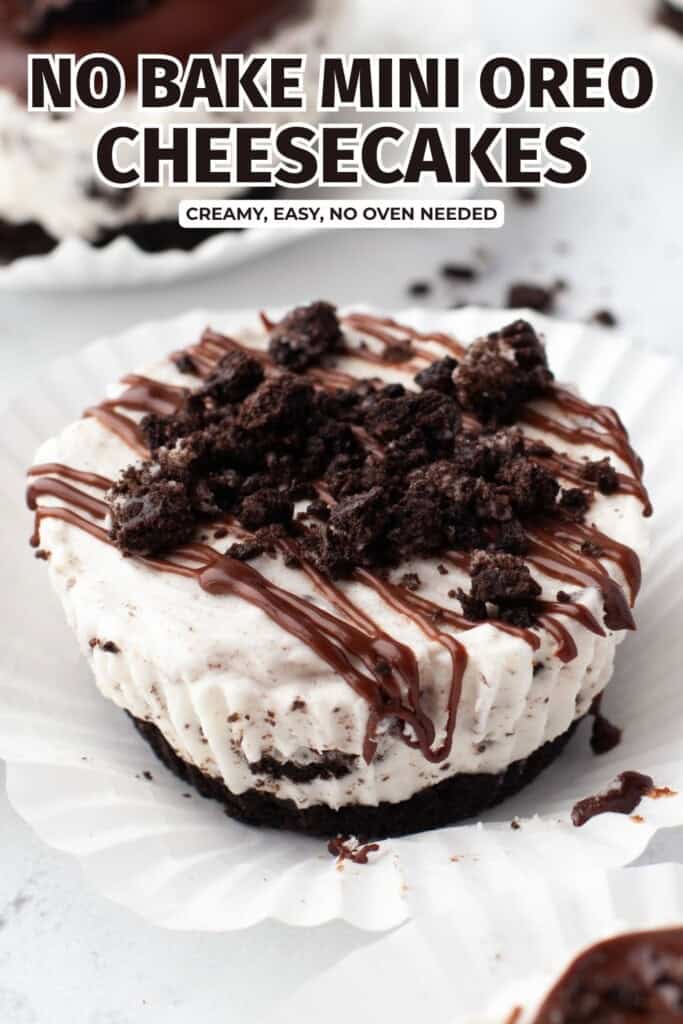
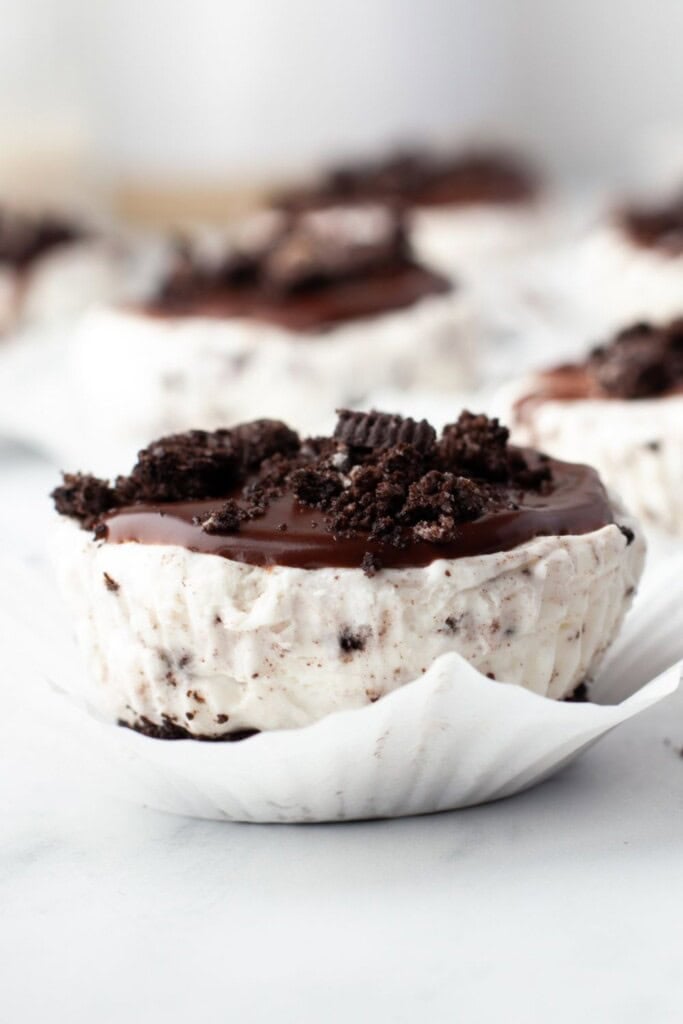
These no bake mini Oreo cheesecakes are creamy, cookies-and-cream perfection in a two-bite package - no oven, no water bath, and no special pan required. Carly and I tested this filling three times before it set firm enough to hold a ganache drizzle, and the fix was a spoonful of Greek yogurt plus a real freezer chill instead of the fridge. If your no bake cheesecakes have ever come out soft and soupy, this is the version that solves it.
This post contains affiliate links. As an Amazon Affiliate, I earn a commission on qualifying purchases.
Why You'll Love These Mini Oreo Cheesecakes
- No special pan. A standard muffin tin and cupcake liners are all you need - no mini cheesecake pan, no springform.
- Faster set. The freezer sets these in about 2 hours, instead of the 6+ hour fridge wait most no bake cheesecake recipes call for.
- That ganache topping. A two-ingredient chocolate ganache turns a simple cookies and cream cheesecake into something bakery-worthy.
- Perfectly portioned. One batch makes 18 to 20 individual cheesecakes - Oreo cheesecake bites, essentially - so there's no slicing, no mess, and easy party serving.
If you love individual no-bake desserts like these, my panna cotta with mango sauce is another one that looks fancy with almost no effort - silky vanilla cream, a bright tropical topping, and the fridge does all the work.
Ingredients You'll Need
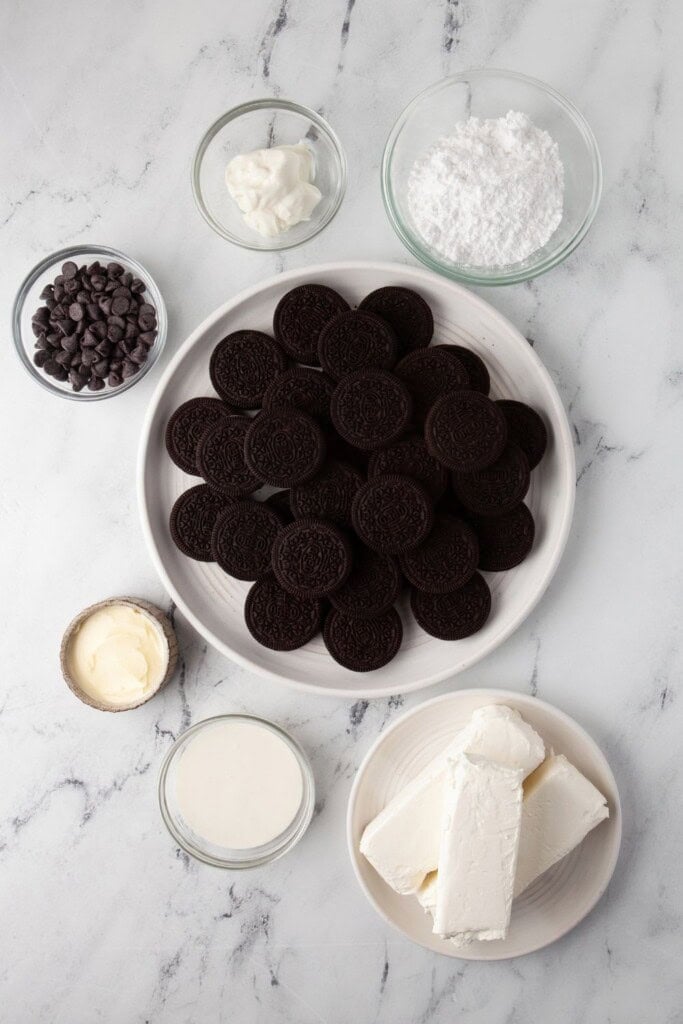
Full amounts are in the recipe card at the bottom of the post - here's what matters about each one:
- Oreos - 21 crushed for the crust, 8 chopped for the filling, and a few more crushed for sprinkling on top if you like. Use regular Oreos, not Double Stuf; the extra creme makes the crust greasy. A standard package leaves you a few cookies short of nothing - if you have extras, my chocolate chip Oreo cookies put them to good use.
- Butter - melted, to bind the crust so it holds together when you peel the liner.
- Cream cheese - two bricks, softened to room temperature. Cold cream cheese is the number one cause of a lumpy filling.
- Greek yogurt - my swap for the usual sour cream. Same tang, thicker body, and it helps the filling set firmer.
- Powdered sugar - sweetens and dissolves completely, so there's no grit in the filling.
- Heavy whipping cream - whipped to stiff peaks, this is what makes the filling light instead of dense. It must be cold, straight from the fridge.
- Semi-sweet chocolate chips - melted with hot cream to make the glossy ganache topping.
How to Make No Bake Mini Oreo Cheesecakes
Step 1: Prep the pan. Line a standard muffin pan with cupcake liners. You'll need 18 to 20 liners total, so use two pans or work in rounds.
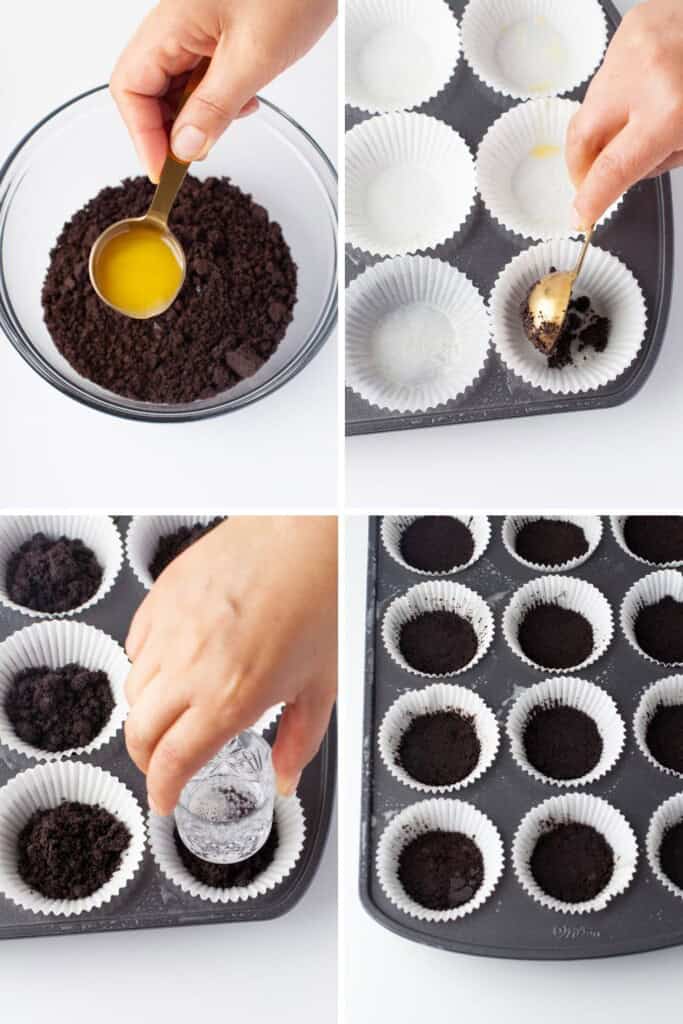
Step 2: Make the crust. Pulse 21 Oreos in a food processor until they're fine crumbs, then stir in the melted butter until every crumb is evenly coated - it should look like wet sand.
Step 3: Press and freeze the crusts. Spoon about 2ctablespoons of crumbs into each liner and press down firmly with the bottom of a shot glass or your fingers - pack them tight so the crust holds together. Freeze for at least 25 minutes.
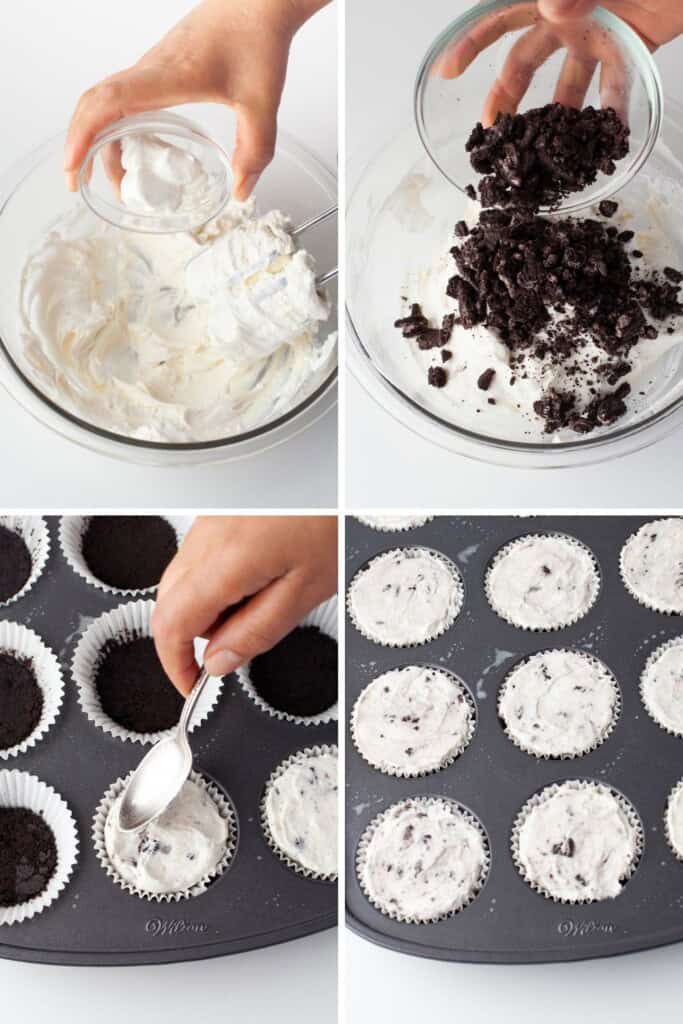
Step 4: Beat the cream cheese. With a hand mixer, beat the cream cheese in a large bowl until completely smooth, then beat in the Greek yogurt.
Step 5: Beat the cream. Beat the cold heavy cream with a stand mixer fitted with the paddle attachment, or with a hand mixer, until it thickens and holds stiff peaks - about 5 minutes. Hand-whisking won't get you there. As the peaks start to form, slowly add the powdered sugar and mix just until combined, being careful not to overbeat.
Step 6: Fold it all together. Gently fold the whipped cream into the cream cheese mixture, then fold in the chopped Oreos. A light hand here keeps the filling fluffy.
Step 7: Fill and freeze. Divide the filling evenly among the crusts using an ice cream scoop or spoon. Freeze for at least 2 hours.
Step 8: Peel the liners. Straight out of the freezer, lift the cheesecakes from the pan and peel the liners away - they release cleanly while the cheesecakes are frozen solid. Set them on a tray for topping.
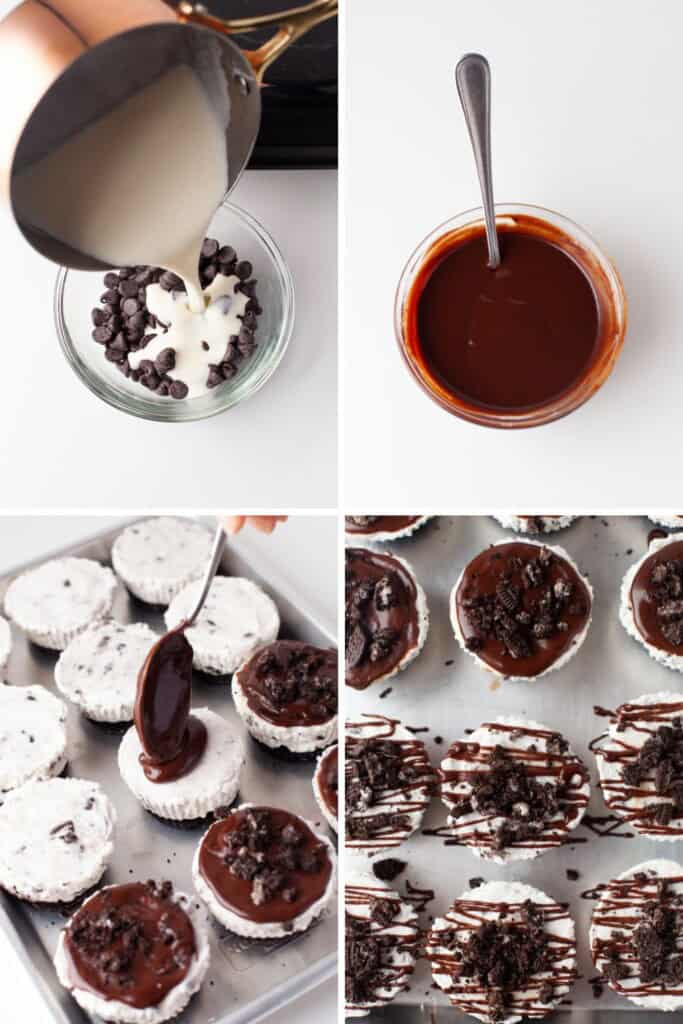
Step 9: Make the ganache. Heat the heavy cream until it's very hot but not boiling - the microwave is easiest, about 30 to 45 seconds in a microwave-safe bowl or glass measuring cup. (A small saucepan over medium heat works too.) Pour the hot cream over the chocolate chips and let it sit for 3 minutes, then whisk until smooth and glossy. A whisk is the key here - stirring with a spoon leaves the chips sitting in the cream instead of emulsifying into ganache.
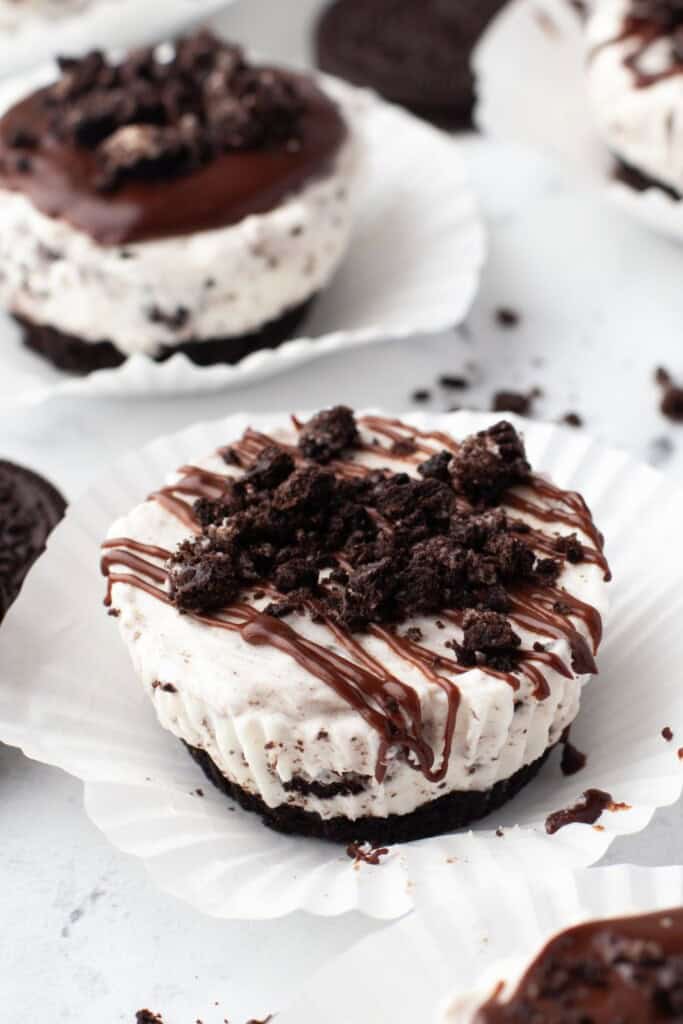
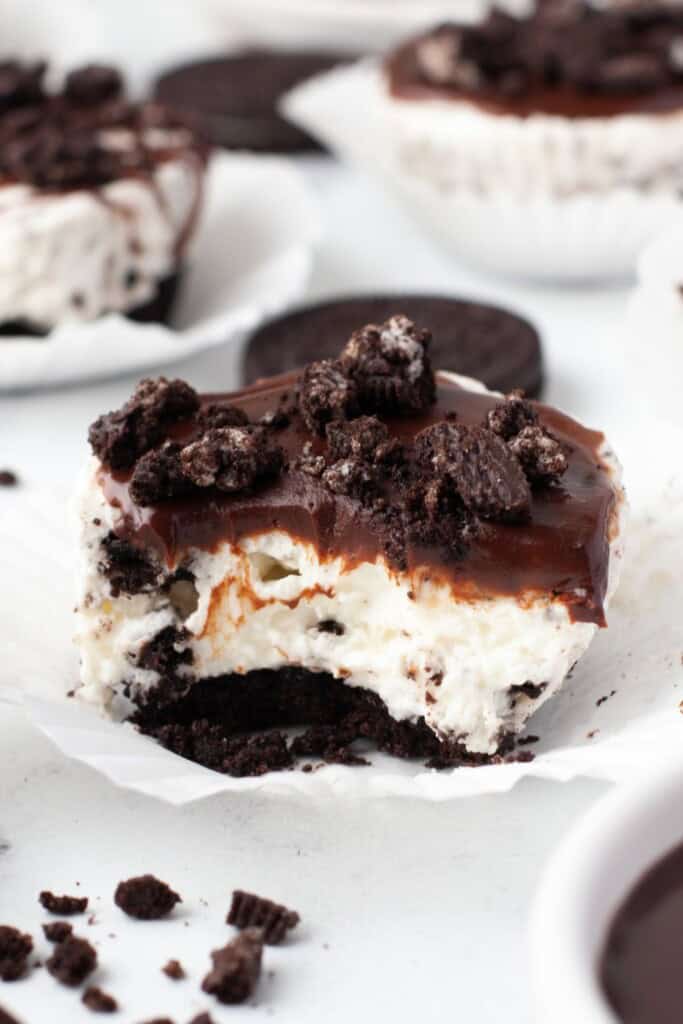
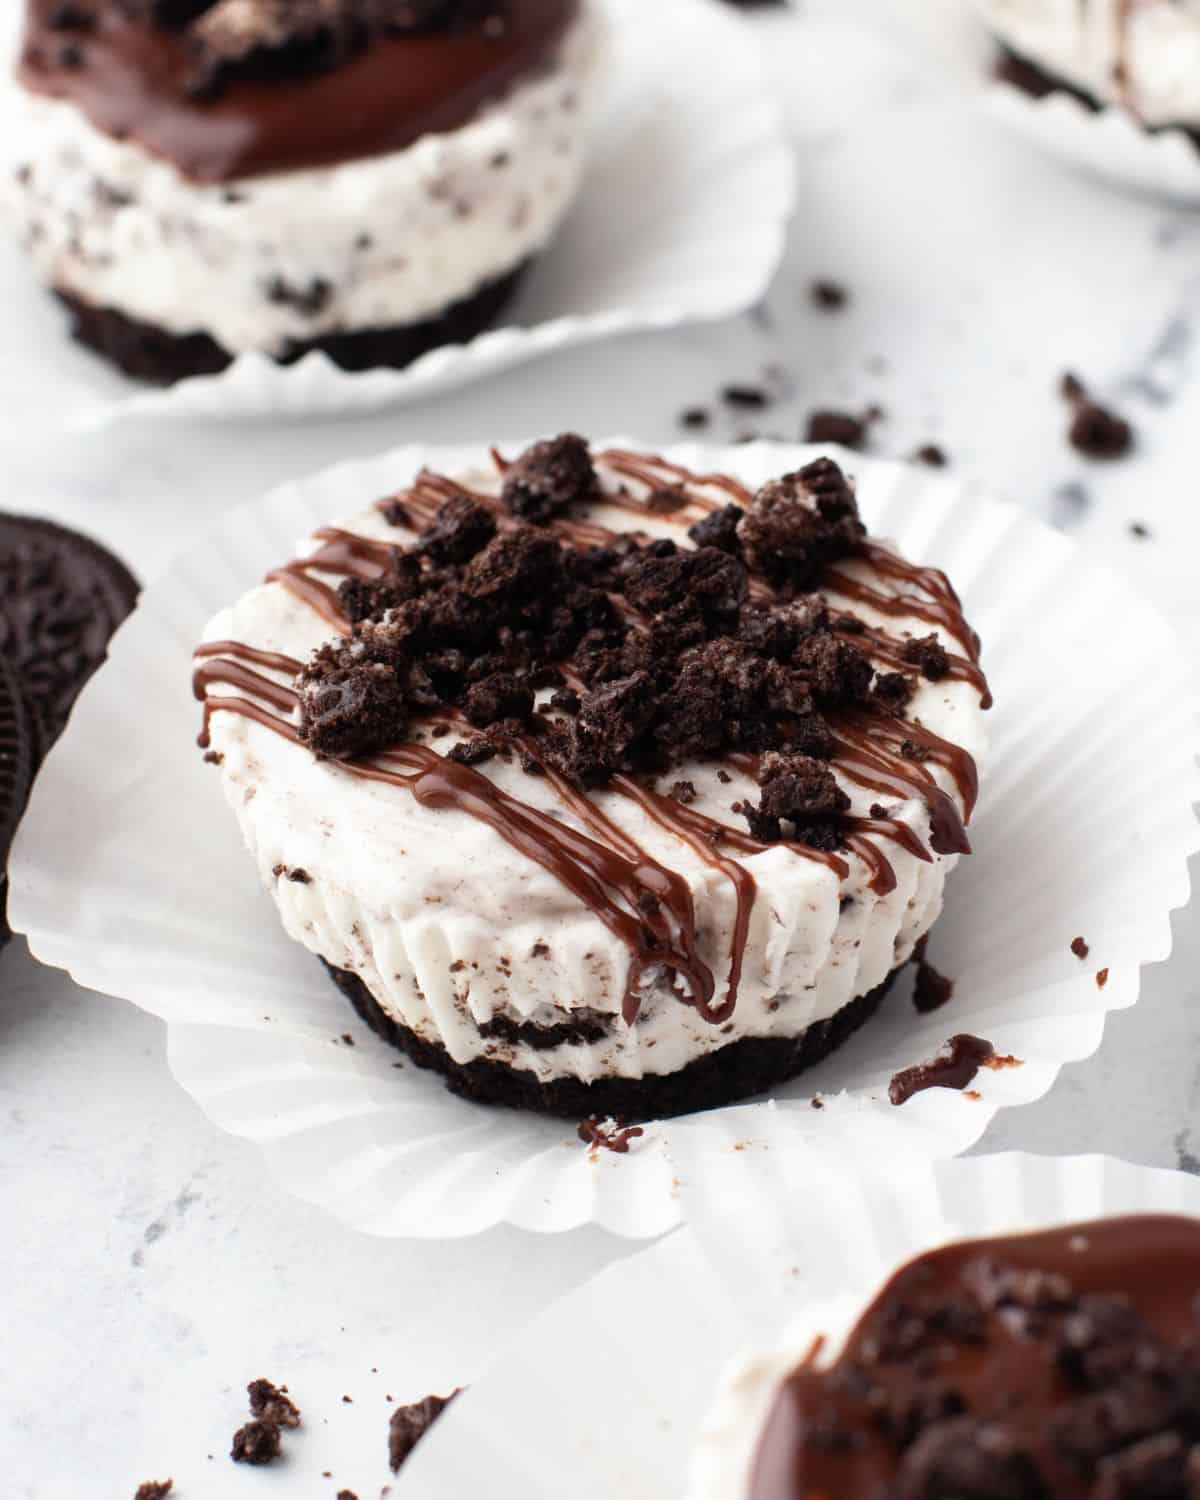
Step 10: Top the cheesecakes. Spread a spoonful of ganache over each cheesecake, or spoon some into a zip-top bag, snip a tiny corner, and drizzle it on. I do a mix of both - the two finishes look beautiful together on a platter. If you want the crushed Oreo topping, sprinkle it on right away, while the ganache is still wet; once it starts to set the crumbs won't stick.
Step 11: Chill and serve. Refrigerate for 20-30 minutes so the ganache sets and the cheesecakes firm back up, then serve.
Storage and Make-Ahead
These are meant to live in the freezer. There's no gelatin in the filling - it sets from cold alone - so freezing is what keeps that clean, sliceable edge. Store them in an airtight container, in a single layer or with parchment between layers, for up to 2 months. Pull them out 10 to 15 minutes before serving so they soften to creamy rather than icy.
They'll also keep in the refrigerator in an airtight container for up to 4 days. A no bake Oreo cheesecake stored this way turns softer and more mousse-like, which some people genuinely prefer, but they won't hold their shape as crisply as the frozen ones. Either way, don't leave them at room temperature longer than about 30 minutes.
The ganache freezes beautifully and stays glossy, so you can top them before they go into the container. That makes these one of my favorite desserts to make well ahead of a party - right alongside my cherry cheesecake cookie cups, which are just as easy to portion out in advance.
Looking for another individual celebration dessert? These Pink Champagne Cupcakes with Strawberry Filling are my go-to for showers and New Year's Eve.
Variations to Try
- Golden Oreo version - swap in Golden Oreos for the crust and filling for a vanilla cookies-and-cream twist.
- Mint chocolate - use Mint Oreos and stir a drop of peppermint extract into the ganache.
- Peanut butter drizzle - warm 2 tablespoons of peanut butter and drizzle it over the ganache.
- Whipped cream topping - skip the ganache and pipe a swirl of whipped cream with a mini Oreo on top of each one.
- Want something even simpler? My viral Japanese Oreo cheesecake is a completely different approach - just two ingredients, no crust, and the cookies soften right into the yogurt.
👩🍳 Tips from My Kitchen
Carly and I made three batches of these before the recipe was exactly right - here's what we learned the hard way so you don't have to.
- Room temperature cream cheese is non-negotiable. Our first batch had lumps that never beat out because the cream cheese was still fridge-cold. Give it a full hour on the counter.
- Beat to stiff peaks, then stop. Use a stand mixer with the paddle attachment or a hand mixer - hand-whisking this much cream doesn't get there. And stop the moment the peaks stand straight up; overbeating turns the filling grainy.
- Whisk the ganache, don't stir it. This one tripped me up. A spoon just pushes the chips around in the cream; a whisk brings it together into a thick, glossy ganache in seconds. I also skip the saucepan entirely and heat the cream in the microwave - with this little cream it's faster and there's no pan to scrub.
- Press the crusts with a shot glass - hard. It fits the liners almost perfectly and packs the crumbs far tighter than fingers can. I tested the crust with 3 tablespoons of melted butter and it's on the delicate side; pack it firmly, and next time I'm trying 4 tablespoons for an even sturdier base.
- Freeze, don't refrigerate, for the initial set. We tested both side by side. The fridge version was still soft at the 2-hour mark; the freezer version was perfect.
- Carly's verdict: the drizzled tops beat the spread tops - but do a mix of both, because the combination looks gorgeous on a platter.
Frequently Asked Questions
Why is my no bake Oreo cheesecake filling runny?
It's almost always one of two things: the whipped cream wasn't beaten to stiff peaks, or the cheesecakes didn't chill long enough. The stiff peaks give the filling its structure, and the 2-hour freezer set firms everything up. If your kitchen runs warm, add an extra 30 minutes.
Can I use sour cream instead of Greek yogurt?
Yes - swap it one-for-one. I use Greek yogurt because it's thicker and helps the filling set a little firmer, but sour cream gives you the same subtle tang.
Do I need a mini cheesecake pan?
No - that's the whole point of this recipe. A standard muffin pan with cupcake liners works perfectly and makes 18 to 20 cheesecakes. If you do own a mini cheesecake pan, it works too - the deeper wells yield about 12 to 14 slightly taller cheesecakes.
Can I make these ahead of time?
Yes, and the freezer is the way to do it. Make them up to 2 months ahead, ganache and all, and keep them frozen in an airtight container - then set them out 10 to 15 minutes before serving. For a shorter window, the refrigerator works for up to 4 days, though they'll be noticeably softer.
How do I keep the liners from sticking?
Peel them straight out of the freezer - a frozen cheesecake releases cleanly every time. If one resists after the cheesecakes have softened, pop it back in the freezer for 10 minutes and try again.
More Easy Desserts You'll Love
- No bake cherry cheesecake - same no-oven approach, bright fruit flavor instead of cookies and cream.
- Cherry cheesecake bites - another individually portioned cheesecake that travels beautifully to a party.
- Lavender cheesecake - a more elegant, grown-up cheesecake for when you want something a little unexpected.
- Easy key lime pie - cool, creamy, and another chilled dessert you can make ahead.
No Bake Mini Oreo Cheesecakes
Equipment
Ingredients
For the crust:
- 21 Oreo cookies crushed into fine crumbs
- 3 tablespoons butter melted
For the Cheesecake Filling:
- 16 oz cream cheese two 8 oz bricks, room temperature
- ½ cup powdered sugar
- 2 tablespoons Greek yogurt
- 1 cup cold heavy whipping cream
- 8 Oreo cookies chopped
For the Chocolate Ganache:
- ¼ cup heavy cream
- ¾ cup semi-sweet chocolate chips
Optional Topping:
- 3 Oreo cookies crushed
Instructions
- Line standard muffin pans with 18-20 cupcake liners (use two pans or work in rounds).
- In a food processor, crush 21 Oreos into fine crumbs. In a small bowl, mix the crumbs with the melted butter until evenly coated.
- Spoon about 2 tablespoons of crumbs into each liner and press down firmly with a shot glass or your fingers - pack the crumbs tight. Freeze at least 25 minutes.
- With a hand mixer, beat the cream cheese in a large bowl until smooth, then beat in the Greek yogurt.
- Beat the cold heavy cream with a stand mixer fitted with the paddle attachment, or with a hand mixer, until it thickens and holds stiff peaks - about 5 minutes. As peaks form, slowly add the powdered sugar and mix just until combined. Do not overbeat. Note: Hand-whisking will not work here.
- Gently fold the whipped cream into the cream cheese mixture, then fold in the chopped Oreos.
- Divide the filling evenly among the crusts using an ice cream scoop or spoon. Smooth the top with the back of a spoon. Freeze at least 2 hours.
- Straight from the freezer, lift the cheesecakes from the pan and peel off the liners - they release cleanly while frozen. Set on a tray.
- For the ganache, heat the heavy cream until very hot but not boiling - microwave 30-45 seconds in a microwave-safe bowl or measuring cup, or use a small saucepan over medium heat. Pour over the chocolate chips, let sit 3 minutes, then WHISK until smooth and thick. A whisk is essential - stirring with a spoon will not bring the ganache together.
- Spread a spoonful of ganache over each cheesecake, or drizzle it from a zip-top bag with a small corner snipped - or do a mix of both. For the optional topping, sprinkle the crushed Oreos on immediately, while the ganache is still wet, or they will not stick.
- Refrigerate 20-30 minutes so the ganache sets, then serve.

These are so perfect for the summer. I love how easy they are to make, and they're so yummy.
Cold, minty, and chocolaty? You can't go wrong with these on a hot summer day.
These are fully awesome. We loved them, and I plan to make them all summer long.
Tried this recipe today and loved that there was no baking required. The Oreo crust and smooth cheesecake filling were absolutely delicious!