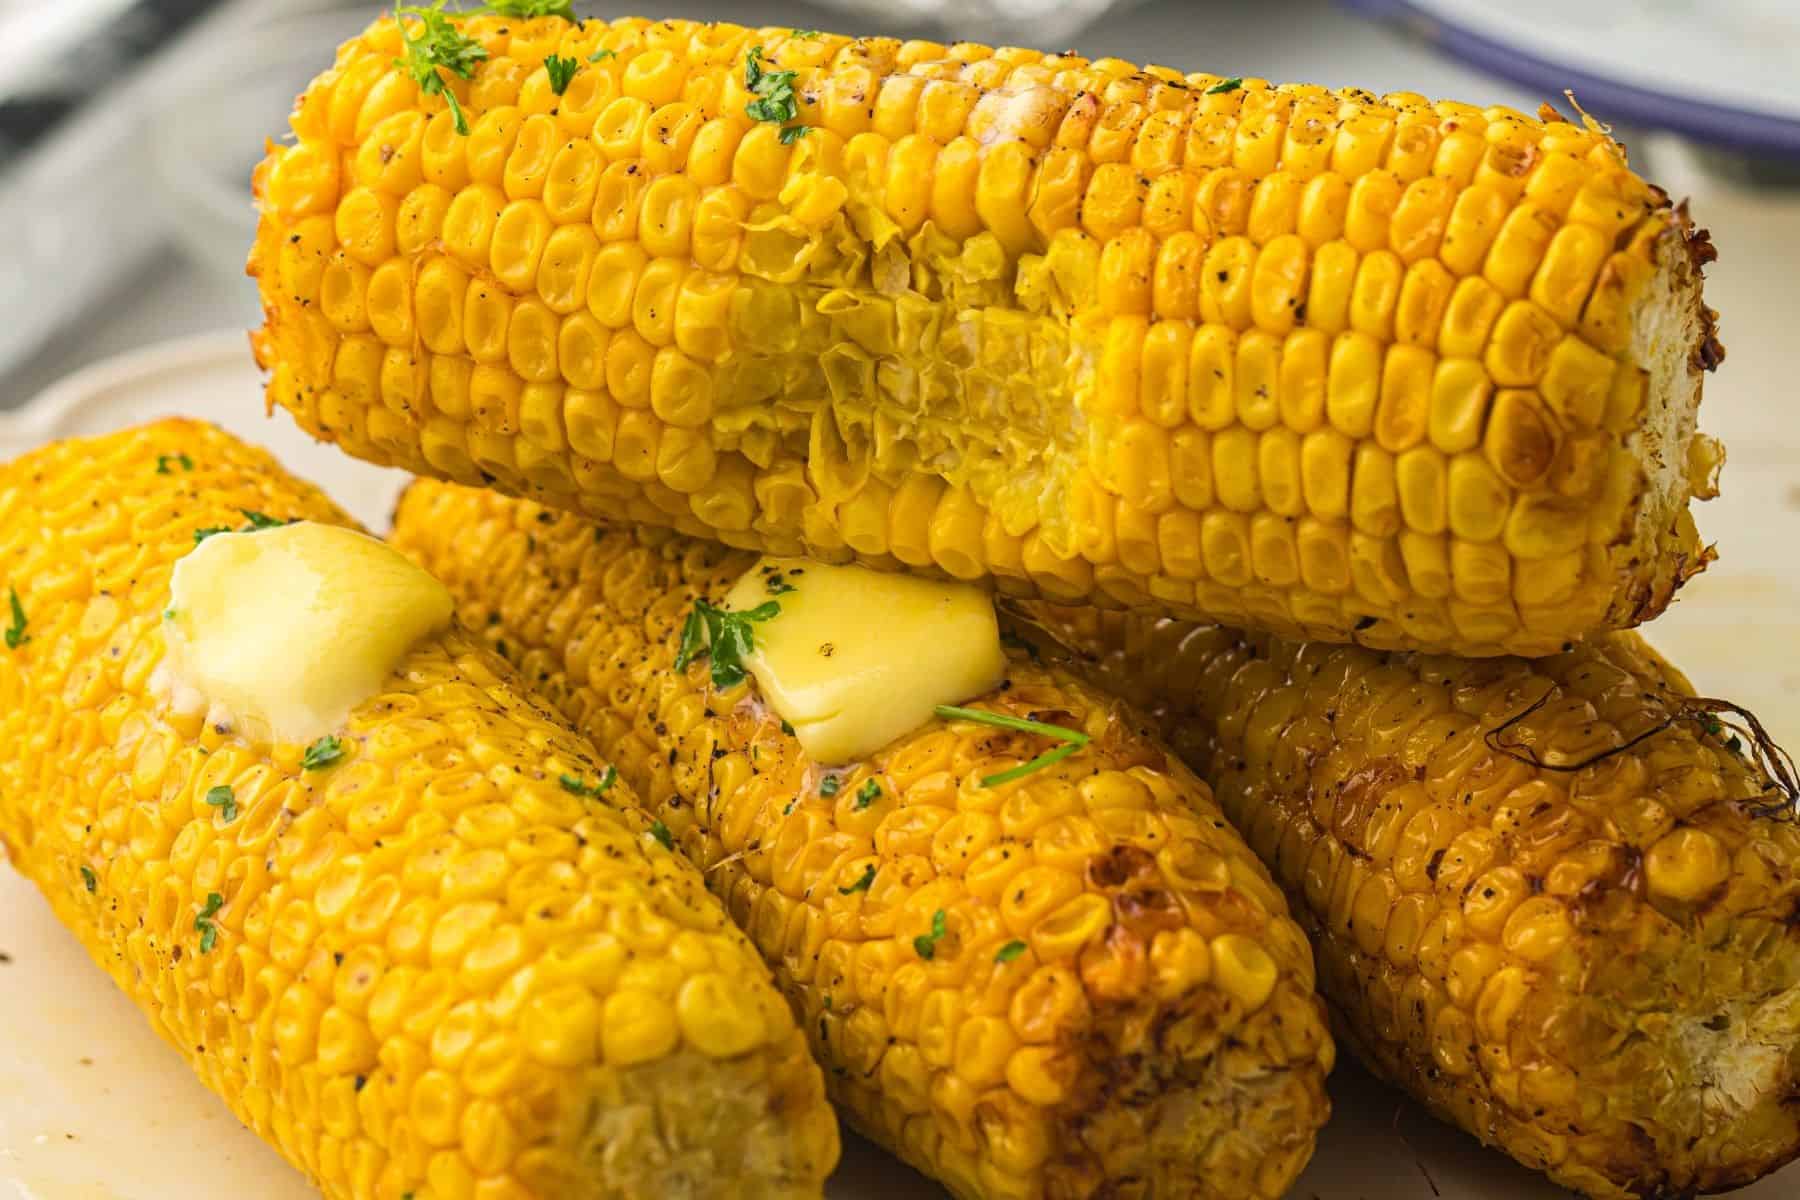
Air Fryer Corn on the Cob

Air fryer corn on the cob is the fastest way I've found to get tender, buttery corn with that lightly charred, fresh-off-the-grill flavor - no grill required. Cooked in foil for the first ten minutes and then finished uncovered, this 13-minute side dish stays juicy in the middle while the outside picks up just enough color to taste like summer.
This post contains affiliate links. As an Amazon Affiliate, I earn a commission on qualifying purchases.
Memorial Day weekend kicks off cookout season around here, and corn on the cob shows up at every one of them. For years I boiled it on the stove or wrapped it in foil and tossed it on the grill, but the air fryer has completely taken over this job in my kitchen. It's faster, the corn comes out more flavorful, and I don't have to heat up the whole house or babysit a pot of boiling water.
The trick is the two-stage cook. The corn steams in foil with butter and salt for the first ten minutes - that's how it stays so tender and juicy - and then it finishes uncovered for three minutes to pick up that gorgeous golden char. Four ingredients, eighteen minutes start to finish, and it's the side dish my family asks for all summer long.
Why You'll Love This Air Fryer Corn
- Faster than boiling - no waiting for a pot of water to come to a boil, just preheat the air fryer and go.
- Tender and juicy in the middle, lightly charred on the outside - the best of grilled and steamed corn in one method.
- Just four ingredients, all of them probably already in your kitchen.
- No grill required, which means no propane runs and no standing outside in the heat.
- Hands-off cooking - wrap, set the timer, and walk away.
- Perfect for cookouts, weeknight dinners, and summer holidays from Memorial Day through Labor Day.
Ingredients You'll Need
A full ingredient list with measurements is in the recipe card at the bottom of the post. Here's a quick rundown of what you'll need and why.
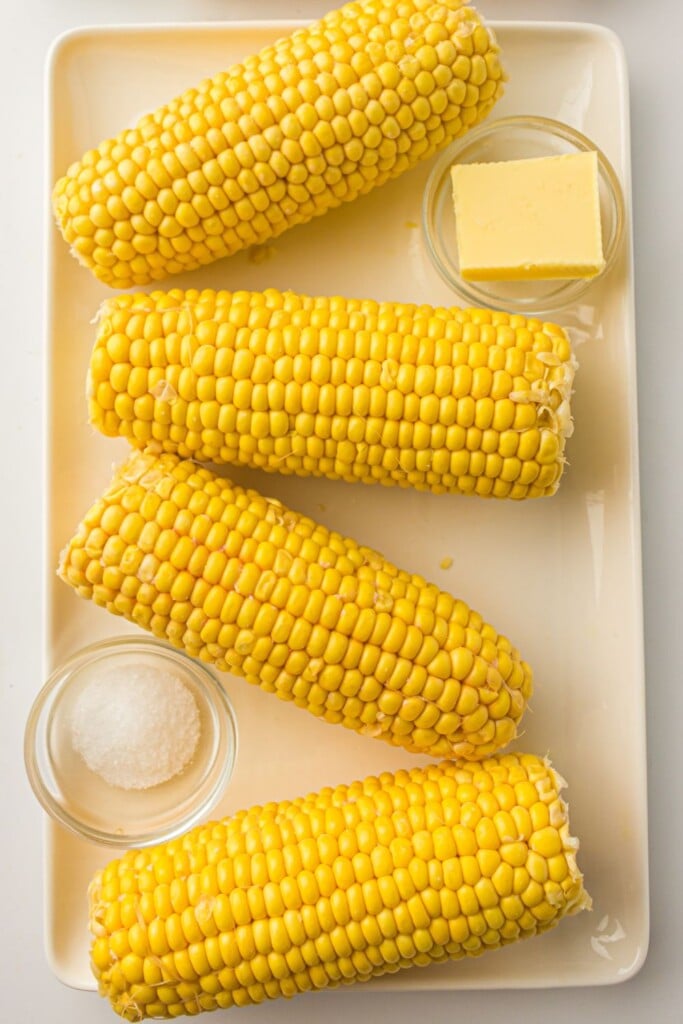
Corn on the cob - fresh ears with the husks and silks removed. Look for ears with bright green husks and plump, milky kernels when you peel back the top. Frozen corn on the cob can work in a pinch, but fresh is unbeatable in early summer.
Unsalted butter - one tablespoon per ear. I use unsalted so I can control the seasoning, but salted butter works fine if you reduce the added salt.
Salt - a half teaspoon total, divided across the ears. Plain table salt is fine; flaky sea salt is wonderful sprinkled on top right before serving.
Aluminum foil - enough to wrap each ear individually. This is the secret to keeping the corn moist during the first stage of cooking.

How to Make Air Fryer Corn on the Cob
Don't skip the foil step - it's what gives this method its juicy, never-rubbery texture. Full instructions and timing are in the recipe card below.
Step 1: Preheat the air fryer.
Preheat to 390°F for 3 to 5 minutes. Preheating matters more than people think - a cold basket means uneven cooking and a longer total time.
Step 2: Butter and salt each ear.
Lay each ear on a piece of foil large enough to wrap it completely. Top each ear with a tablespoon of butter and a pinch of salt (about ⅛ teaspoon per ear). The butter doesn't need to be melted - it'll spread as it warms up in the air fryer.
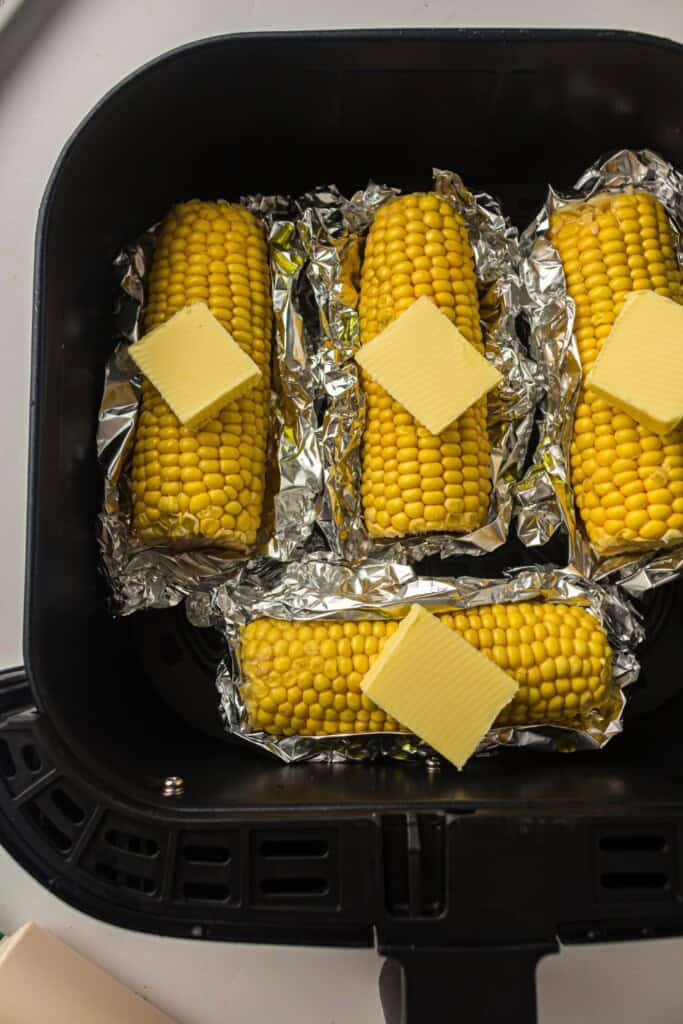
Step 3: Wrap tightly in foil.
Wrap each ear tightly so the steam stays in. Twist the ends like a candy wrapper to seal in all that buttery moisture.
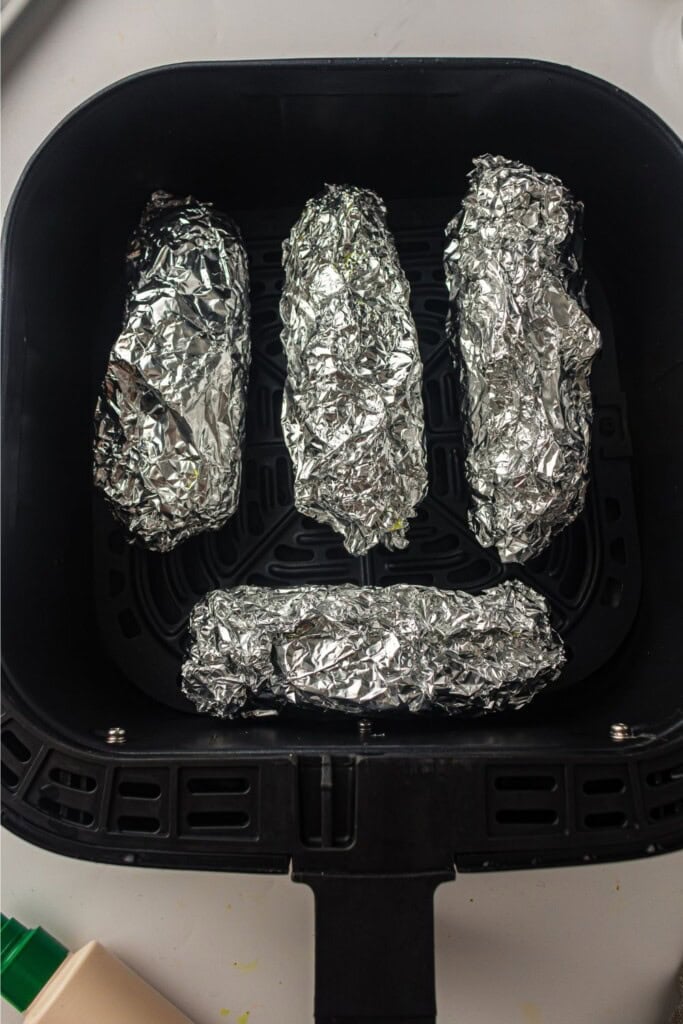
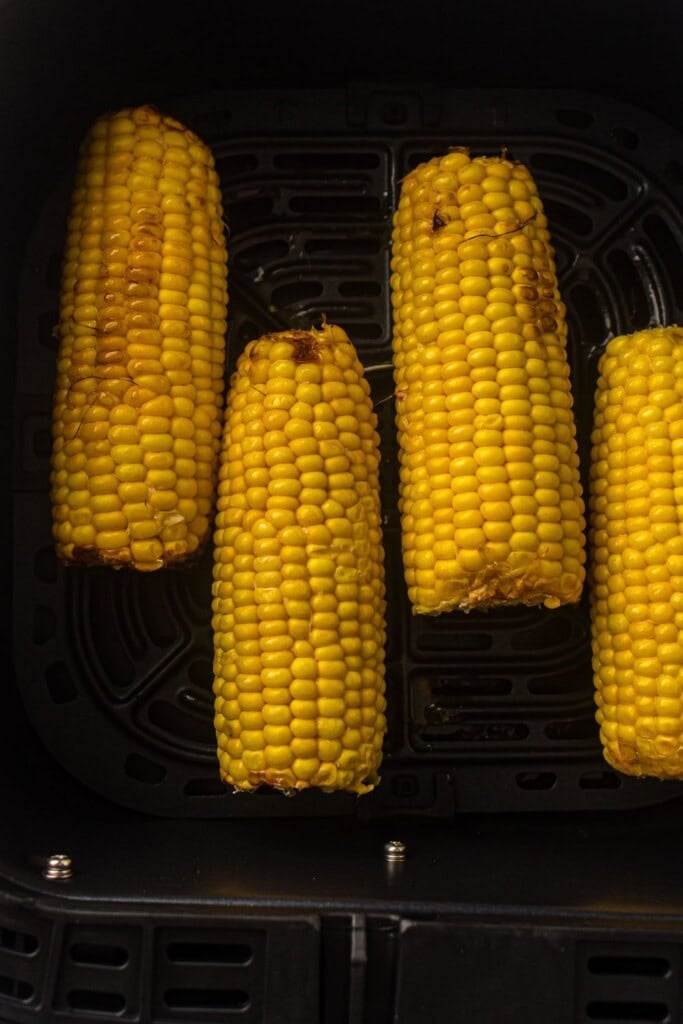
Step 4: Air fry wrapped for 10 minutes.
Place the wrapped ears in a single layer in the air fryer basket and cook at 390°F for 10 minutes. They're essentially steaming inside the foil during this stage - that's how you get tender kernels all the way through.
Step 5: Unwrap and finish uncovered.
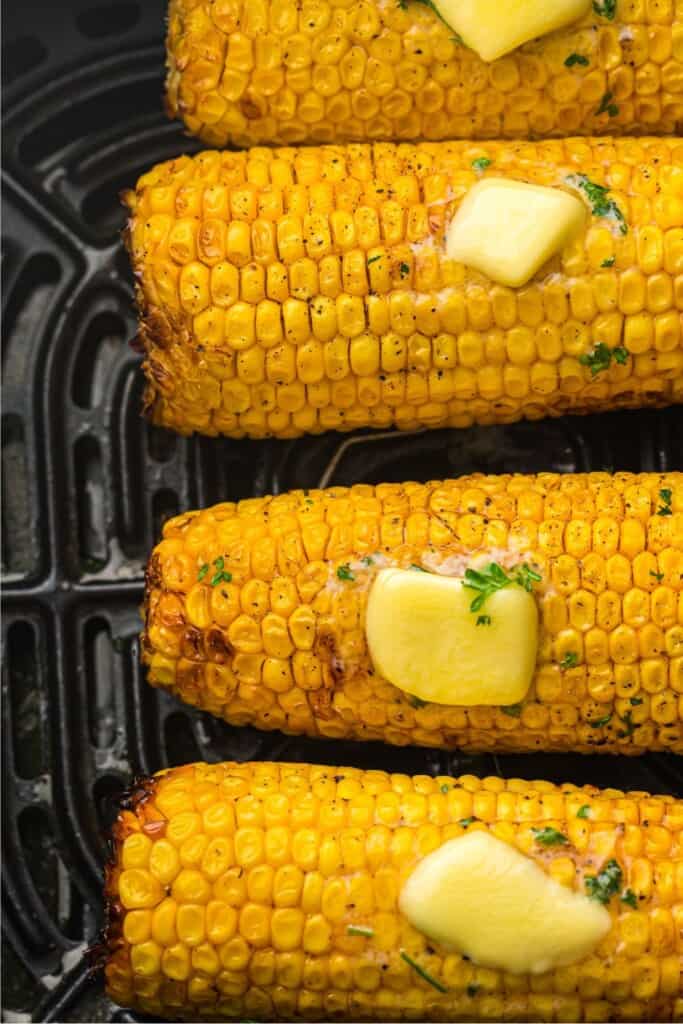
Carefully unwrap the corn (the steam will be hot - use tongs) and return the ears to the basket. Air fry uncovered for another 3 minutes. This is where the magic happens: the outside picks up that golden char and a slightly nutty, grilled flavor.
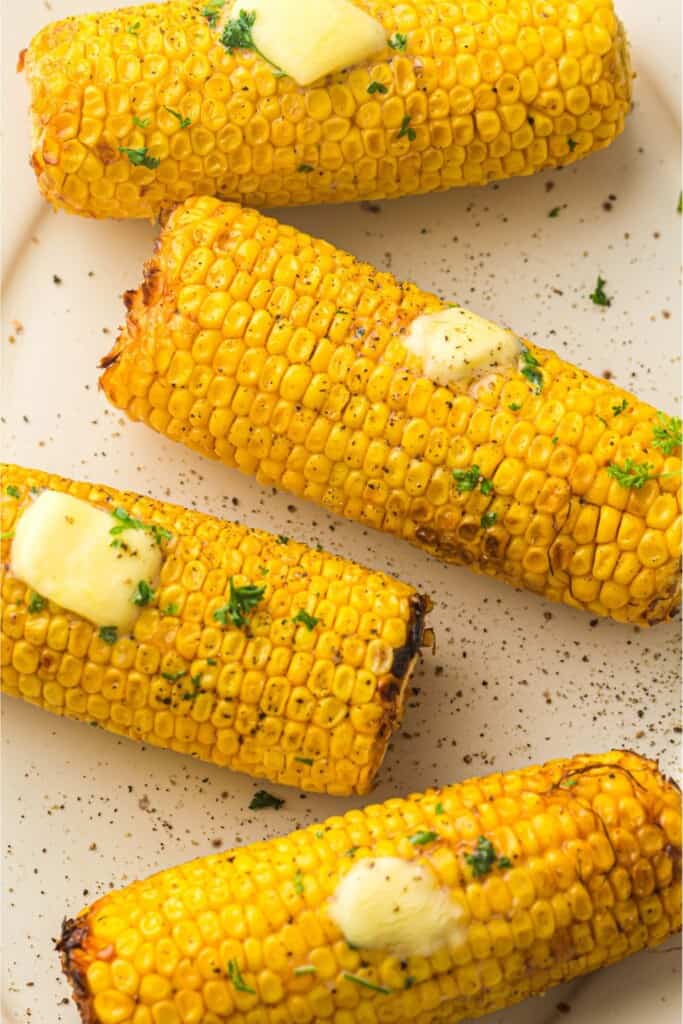
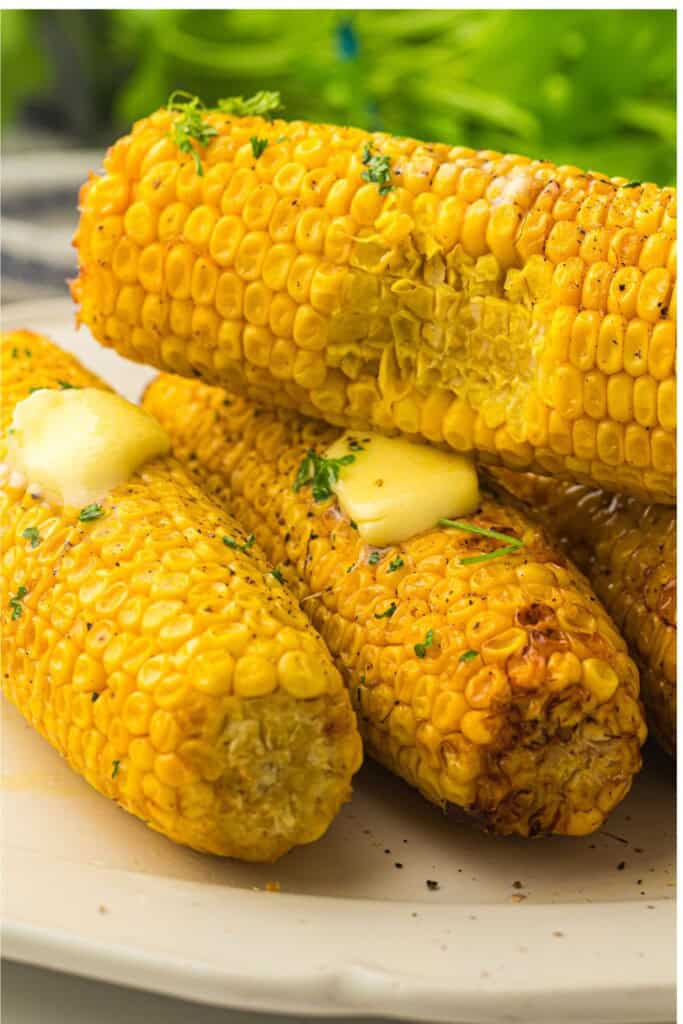
Step 6: Serve hot.
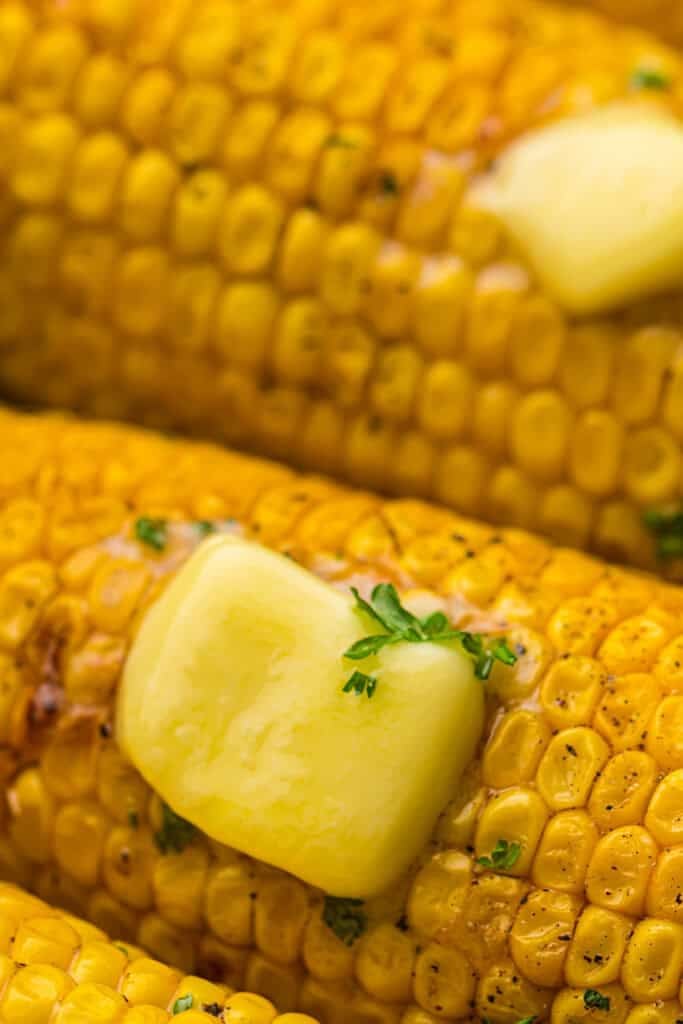
Serve immediately with extra butter, flaky salt, fresh black pepper, or any of the topping ideas in the variations section below.
Tips for the Best Air Fryer Corn
- Don't skip the preheat. A preheated basket gives you better char in less time.
- Buy the freshest corn you can find. Look for bright green, snug husks and plump kernels with milky liquid when scratched. Older corn turns starchy.
- Cook in a single layer. Stacking the ears means uneven cooking. If you have a smaller air fryer, work in batches - the recipe doubles easily.
- Wrap the foil tightly. Loose wrapping lets steam escape and you'll lose the juiciness that makes this method special.
- Use tongs to unwrap. The steam coming off the foil after 10 minutes is no joke.
- Let it char a little longer if you love that grilled flavor. An extra minute or two uncovered will deepen the color, just keep an eye on it.
- Cut large ears in half. If your air fryer basket is on the smaller side, halving the ears makes them easier to fit in a single layer.
Variations and Flavor Add-Ins
Once you've nailed the basic method, the seasoning possibilities are endless. Sprinkle these on after the corn comes out of the air fryer.
- Mexican Street Corn (Elote): a smear of mayonnaise, crumbled cotija cheese, chili powder, a squeeze of lime, and chopped cilantro.
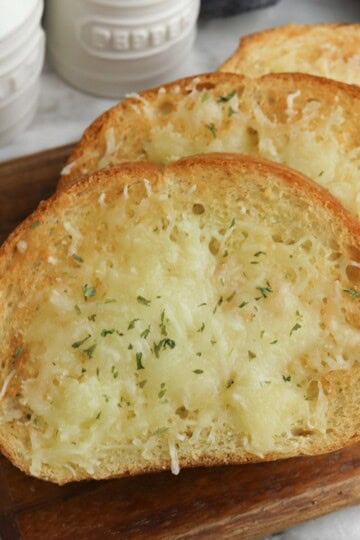
- Garlic Parmesan: brush with melted garlic butter and dust with grated parmesan and fresh parsley.
- Cajun Style: toss with Cajun seasoning, a squeeze of lemon, and a drizzle of hot honey.
- Honey Butter: mix equal parts honey and softened butter, brush on while the corn is still hot.
- Smoked Paprika and Lime: a sprinkle of smoked paprika, sea salt, and a squeeze of fresh lime brightens it right up.
- Herb Butter: softened butter mixed with fresh chives, dill, or basil from the garden.
Storage and Reheating
Refrigerator: Store leftover corn in an airtight container in the fridge for up to 3 days. Cut the kernels off the cob first if you want to use them in salads, salsas, or grain bowls during the week.
Freezer: Cooked corn freezes well off the cob. Cut the kernels off, spread them on a parchment-lined sheet pan, freeze until solid, then transfer to a freezer bag. They'll keep for up to 3 months.
Reheating: Pop a leftover ear back in the air fryer at 350°F for 2 to 3 minutes to crisp it back up. The microwave works in a pinch but you'll lose the texture.
What to Serve With Air Fryer Corn
This is one of those side dishes that goes with absolutely everything off the grill or out of the air fryer. A few of my favorite pairings:
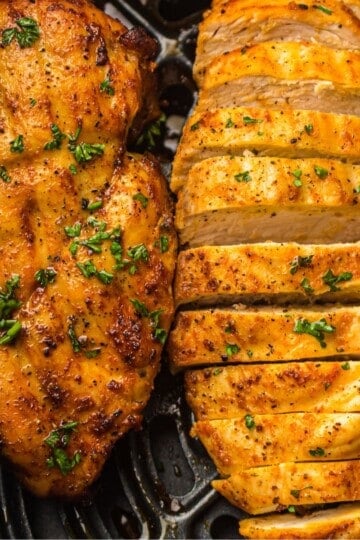
- Mains: grilled burgers, BBQ chicken, baby back ribs, smoked brisket, or my Air Fryer Chicken Breasts for a perfect 30-minute weeknight pairing.
- More cookout sides: Coleslaw, Watermelon Feta Salad, Baked Beans, Broccoli Cauliflower Salad, or Mexican Corn Casserole -perfect for serious corn lovers.
- Memorial Day spread: Potato Salad, BBQ Smokies, Pulled Pork Sliders, and a big pitcher of Lemonade Slushie is my go-to for a crowd.
Frequently Asked Questions
A: Yes, when used correctly. Foil is safe in most air fryers as long as it's weighed down by food (which it will be when wrapped around corn) so it can't blow into the heating element, and as long as you avoid covering the entire basket bottom or blocking airflow. Always check your specific air fryer's manual - a few brands recommend against foil, but most major models including Ninja, Cosori, Instant, and Philips allow it. Never use foil with acidic ingredients like tomatoes or citrus, since the acid can react with the aluminum.
A: Cook the corn at 390°F for 13 minutes total - 10 minutes wrapped in foil, then 3 minutes unwrapped to char the outside. Total time from prep to plate is about 18 minutes.
A: No, but I strongly recommend it. The foil traps steam during the first stage of cooking, which is what keeps the kernels tender and juicy. You can cook the corn directly in the basket if you prefer, but it tends to dry out, especially if your corn isn't super fresh.
A: Yes. Just reduce or skip the added salt to keep the seasoning balanced. Taste before serving and add a pinch of flaky salt if it needs it.
A: It depends on the size of your air fryer. The corn needs to fit in a single layer in the basket without overcrowding for even cooking. If you have a larger 8-quart model you can probably fit five or six ears. For a smaller 4-quart, four is usually the max.
A: Absolutely. Garlic powder, smoked paprika, black pepper, or Cajun seasoning all hold up beautifully under the foil. I'd still finish with fresh herbs or cheese after cooking, since those tend to burn or wilt during the cook time.
A: Any air fryer with a basket that can fit a full ear of corn in a single layer will work. I use a 6-quart basket model. If you have a smaller air fryer or a toaster-oven style, just cut the ears in half so they fit comfortably.
A: Yes, but add 4 to 5 minutes to the wrapped cooking time and don't thaw it first. Pat off any ice crystals, butter and wrap as usual, and check for doneness before the uncovered finish.
Air Fryer Corn on the Cob
Equipment
Ingredients
- 4 ears fresh corn on the cob husks and silks removed
- 4 tablespoons unsalted butter divided (1 tablespoon per ear)
- ½ teaspoon salt divided
- Aluminum foil enough to wrap each ear individually
Instructions
- Preheat the air fryer to 390°F for 3 to 5 minutes.
- Place each ear of corn on a piece of aluminum foil large enough to wrap it completely.
- Top each ear with 1 tablespoon of butter and sprinkle evenly with salt (about ⅛ teaspoon per ear).
- Wrap each ear tightly in the foil, twisting the ends to seal in the steam.
- Place the wrapped ears in the air fryer basket in a single layer. Cook at 390°F for 10 minutes.
- Carefully unwrap the corn (the steam is hot - use tongs) and return the ears to the basket.
- Cook uncovered at 390°F for 3 more minutes to develop a light char.
- Remove from the air fryer and serve hot with extra butter, flaky salt, and any toppings you like.
Notes
• Cooking times vary slightly by air fryer model. If your air fryer runs hot, check at 8 minutes wrapped.
• For a stronger char, add 1 to 2 minutes to the uncovered cook time.
• To make ahead: cook the corn through step 5, refrigerate wrapped, and finish step 6 (uncovered cook) just before serving.