
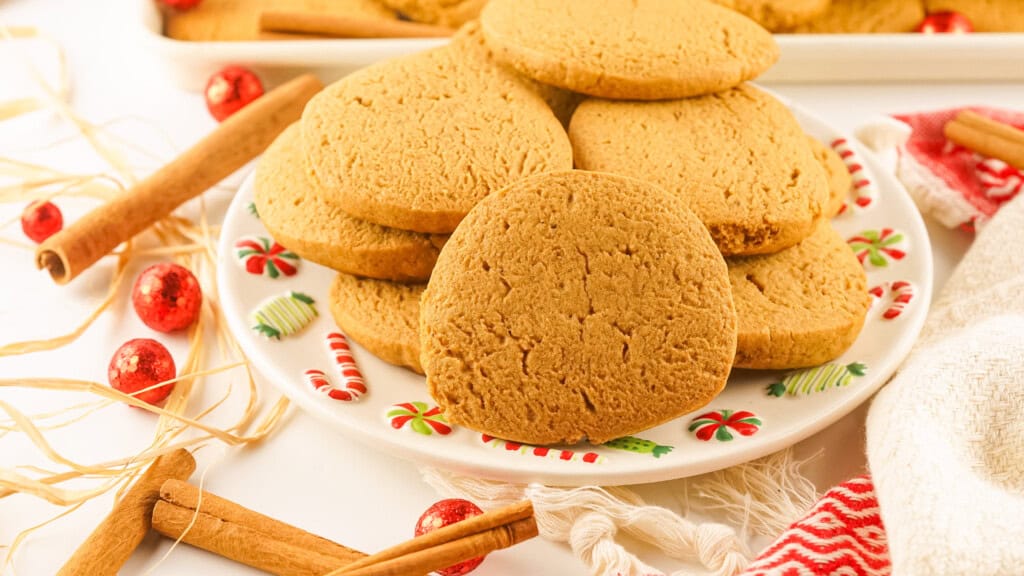
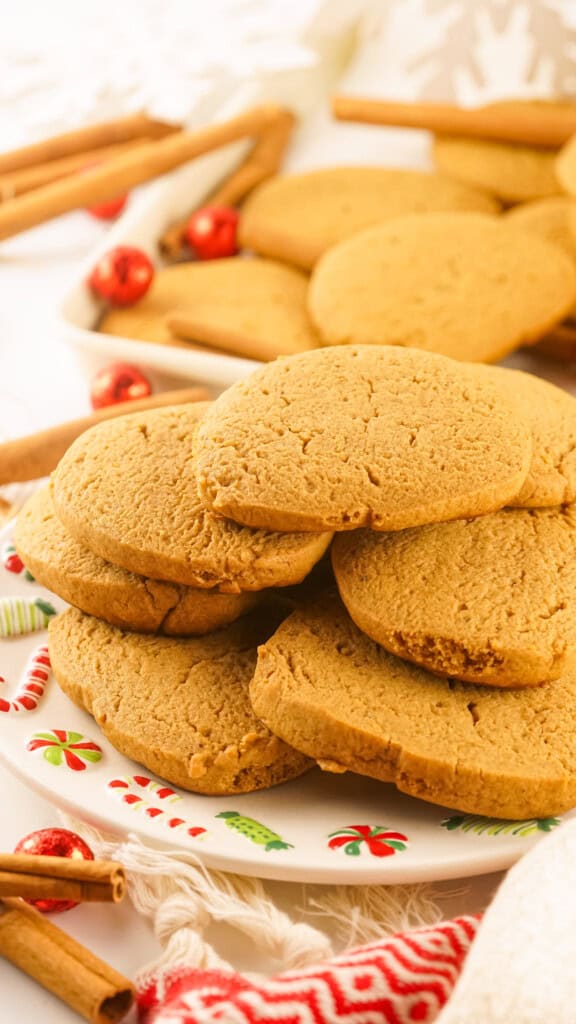
Crispy Gingersnap Cookie Recipe (Slice and Bake!)

Enjoy all the flavors of a classic gingerbread cookie without the work of rolling and cutting with this simple Christmas recipe! This crispy gingersnap cookie recipe is packed with holiday flavor. And since they're a slice and bake treat, they come together in no time! Just mix the ingredients, chill the dough, slice the cookies, and pop them in the oven for a classic Christmas treat everyone will love.

This post contains affiliate links. As an Amazon Affiliate, I earn a commission on qualifying purchases.
What Do I Need to Make This Crispy Gingersnap Cookie Recipe?
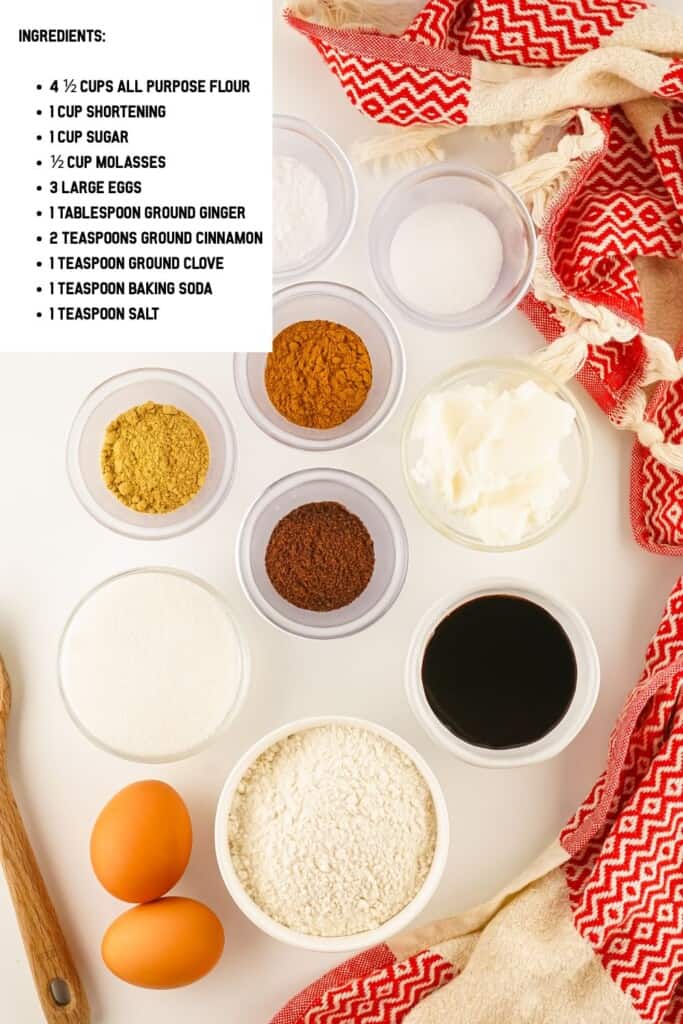
Made with a handful of warm spices and a few common baking ingredients, these easy cookies are the perfect holiday treat. All you need to make your own homemade gingersnaps is:
- All-purpose flour
- Shortening
- Sugar
- Molasses
- Eggs
- Ground ginger
- Ground cinnamon
- Ground clove
- Baking soda
- Salt
How Do I Make This Crispy Gingersnap Cookie Recipe?
You're going to love how quickly these gingersnaps come together! All you have to do is follow these easy instructions to prepare these icebox cookies for you next Christmas celebration.
Step One: Make the Cookie Dough
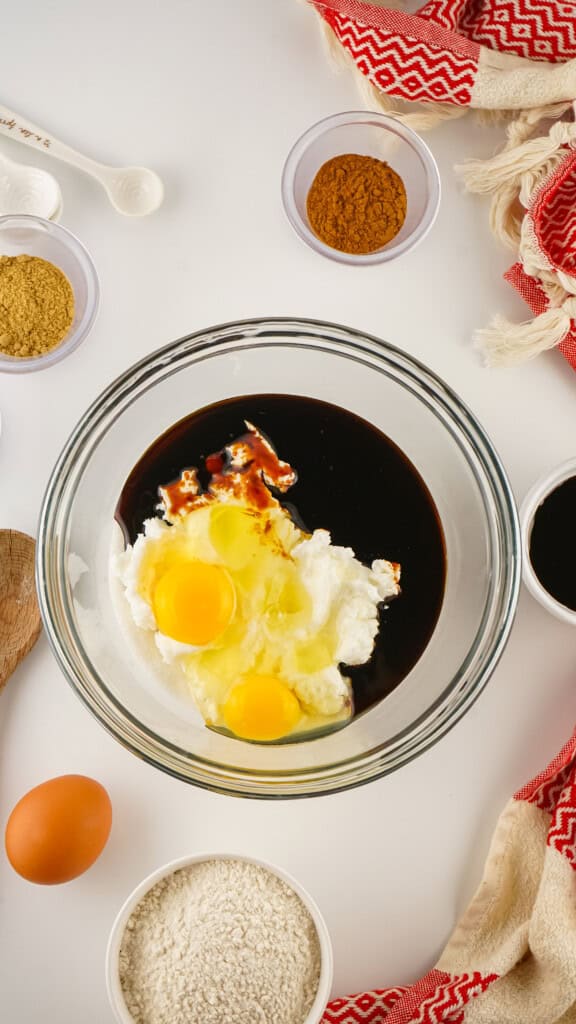
In a large bowl, combine the sugar, shortening, molasses, and eggs. Use a hand mixer or stand mixer to mix well. In a separate bowl, add the flour, ginger, cinnamon, clove, baking soda, and salt. Whisk until the dry ingredients are well blended. Then, add the dry ingredients to the sugar mixture and beat until a doughy texture begins to form.
Would you like to save this?
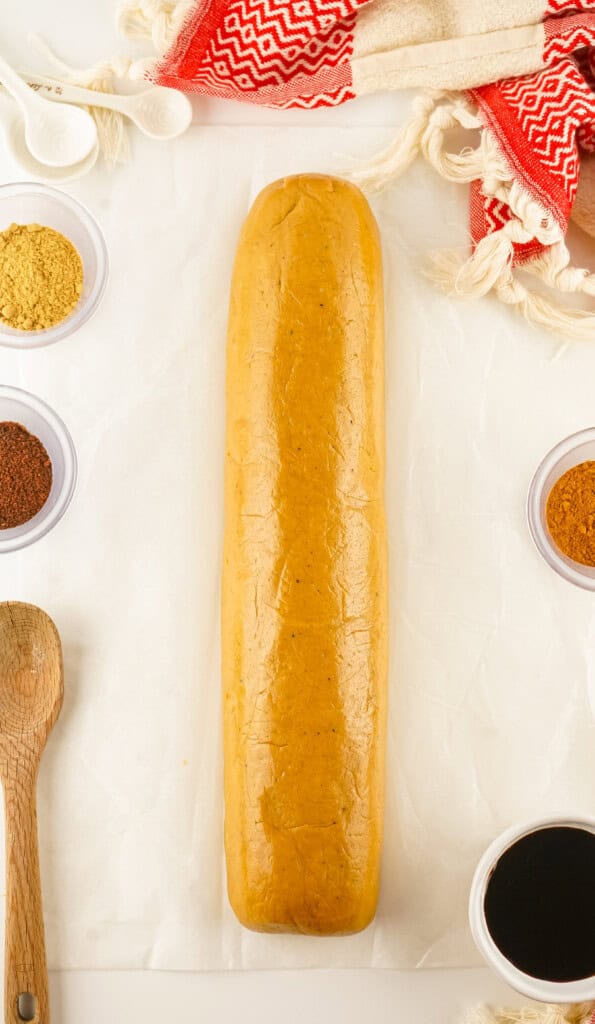
Step Two: Chill the Dough
Pour the dough mixture into a piece of parchment paper and knead it until it's well blended. Then, shape the mixture into a large log that's around 14 inches long and approximately 3 inches wide. Wrap the log in plastic, then wrap another piece of parchment paper around the dough. Place the dough in the refrigerator for 8 hours or up to overnight.
Step Three: Slice the Cookies
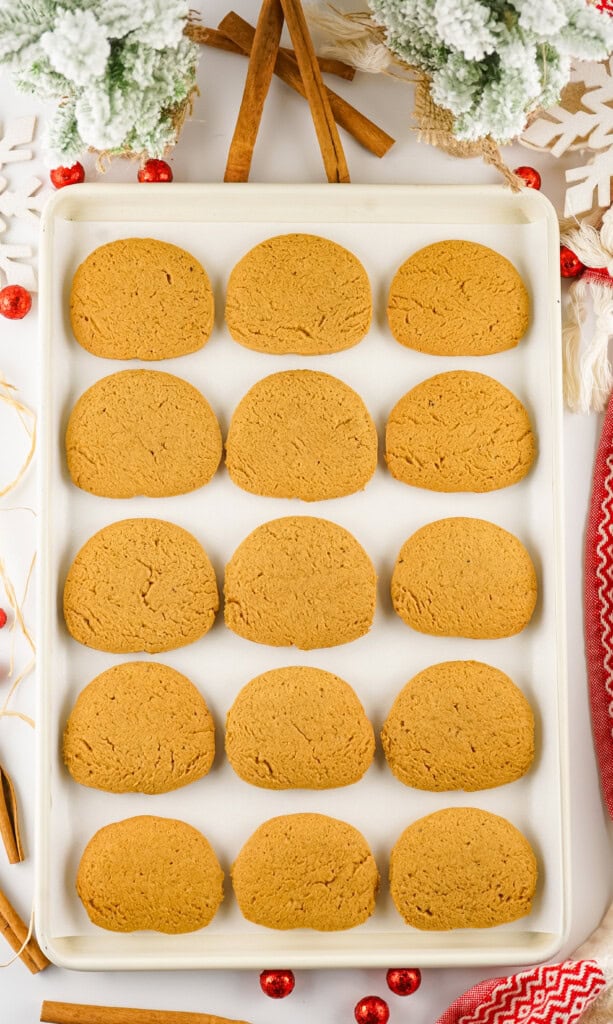
When you're ready to start baking, preheat the oven to 400 degrees. Then, remove the dough from the refrigerator and take off the wrapping. Slice the log into ¼ inch slices, placing each slice on a parchment paper lined baking sheet around one inch apart.
Step Four: Bake the Cookies
Place the pan in the oven and bake for 8 minutes or until they're golden on the edges but still slightly soft in the center. Allow the cookies to rest on the baking sheet for 10 minutes, then transfer them to a wire cooling rack to cool completely before serving.
 Crispy Gingersnap Recipe Tips Ideas
 Crispy Gingersnap Recipe Tips Ideas
These slice and bake cookies couldn't be easier to make! And with the help of these easy tips and tricks, you be able to whip up these classic Christmas treats in no time.
- Avoid kneading or rolling the dough after chilling. It's important to make sure your dough log is the shape you want it before placing it into the fridge. That's because you won't be able to knead or roll it out once the dough has been chilled. This may cause the dough crumble and break, making it difficult to slice.
- A flat bottom is OK. As the dough sits in the fridge, the bottom of the roll may begin to flatten. While this is totally normal, you can use a special tool to help keep the log round as it chills. The OXO Slice and Bake Cookie Helper keeps the dough from flattening and also leaves little notches in the dough so you know exactly where to slice.
- Don't overbake the cookies. To enjoy a crispy cookie with a chewy center, it's important not to overbake the dough. The bottoms of the cookies should be the same color as the top when they're done baking. If you find that the bottoms of your cookies are darker than the top, remove them from the pan immediately to keep them from cooking more as they rest on the hot pan.
- Add water to the dough if it doesn't come together. If your dough is the consistency of sand after all the ingredients have been mixed, you'll need to add some liquid to help it come together. Start with a teaspoon of water, then add more as needed, mixing between each addition.
- Decorate with frosting. These cookies taste delicious as-is, but if you want to add some decorations to the top, you can! Spread a thin layer of white or cream cheese icing over the top of the cookies and add some holiday sprinkles for a fun pop of color!
- Use a gingerbread spice mix. If you have a some gingerbread spice blend on hand, you can replace the spices in the recipe with 1 tablespoon of gingerbread spice mix.
How to Store Gingersnap Cookies?
Allow the cookies to cool completely, then transfer them to an airtight container. Place them at room temperature in a cool, dry place and they'll stay good for up to 9 days.
The homemade cookies can also be frozen for more long-term storage. Arrange the cookies on a flat plate or baking sheet and place them in the oven. Once they're frozen solid, transfer them to a freezer bag and keep them in the freezer for up to three months. Allow the cookies to thaw at room temperature before eating.

Crispy Gingersnap Cookie Recipe
Equipment
- Baking Sheet
- Stand or hand mixer
- Rubber Gloves (optional)
- Liquid and Solid Measuring Cups
- Measuring Spoons
- 2 Large Measuring Bowls (optional)
Ingredients
- 4 ½ Cups All Purpose Flour
- 1 Cup Shortening
- 1 Cup Sugar
- ½ Cup Molasses
- 3 Large Eggs
- 1 Tablespoon Ground Ginger
- 2 Teaspoons Ground Cinnamon
- 1 Teaspoon Ground Clove
- 1 Teaspoon Baking Soda
- 1 Teaspoon Salt
Instructions
- Combine the sugar, shortening, molasses, and eggs in a large mixing bowl or stand mixer and mix well.
- In a separate bowl, combine the flour, ginger, cinnamon, clove, baking soda, and salt. Mix well.
- Add the dry mixture to the bowl with the wet ingredients and mix well until a doughy texture forms (this is a piece of cake with a stand mixer and I highly recommend it).
- Pour the mixture out onto parchment paper. Knead and shape it until you’ve formed a large log. Your log should be 14 inches long in order to get the right size cookies (just under 3 inches) once they’re ready for cooking.
- Wrap in plastic and then parchment paper and place the log in the fridge for 8 hours or overnight.
- When your cookies are ready for baking, preheat the oven to 400 degrees fahrenheit and line a baking sheet with parchment paper.
- Remove the log from the fridge and wrappings. The bottom will have flattened and that’s normal for slice and bake cookies.
- Slice the log into ¼ inch slices. Place the slices on the prepared pan about an inch apart.
- Bake for 8 minutes or until they’re golden or look almost finished. You don’t want them to finish while in the oven, as they will finish cooking on the baking sheet outside of the oven.
- Pull them from the oven and let rest for 10 minutes on the baking sheet. Enjoy!
Notes
• Once you have stored cookies overnight, they will turn softer and lose their slightly crunchy outside. So, if you prefer the crunch, eat them the same day. They’re delicious either way.
• Be careful to not roll the dough again after it's been refrigerated or you can cause it to break up, which will cause the cookies to crumble or break when they’re being sliced.
• The roll will have a flat bottom once it chills, this is normal and very indicative of refrigerator cookies. There’s a neat tool you can use if you prefer a truly round cookie. The OXO Slice and Bake Cookie Helper keeps the dough round while it chills and also leaves little notches in the dough so you know exactly where to slice.
• If you pull the cookies out and the bottoms are a tad darker, remove them from the pan to cool. If the bottoms are still about the same color as the rest of the cookie, you’re good to leave them on the pan to cool.
• You can add frosting to these, if preferred. I like my cookies without frosting, but the hubby loves frosting, so it depends on your preferences.
• If your dough is like sand and not basically coming together on its own, you’ll need to add a bit of liquid. Start with a teaspoon of water at a time.
• Using a stand mixer will make this recipe SO easy. You should be able to just dump the dough out and easily shape it when using the stand mixer.
• I use the parchment paper wrapped around the dough to help shape it into a log. Shape it like you would playdough snakes. You might laugh, but it’s true.