
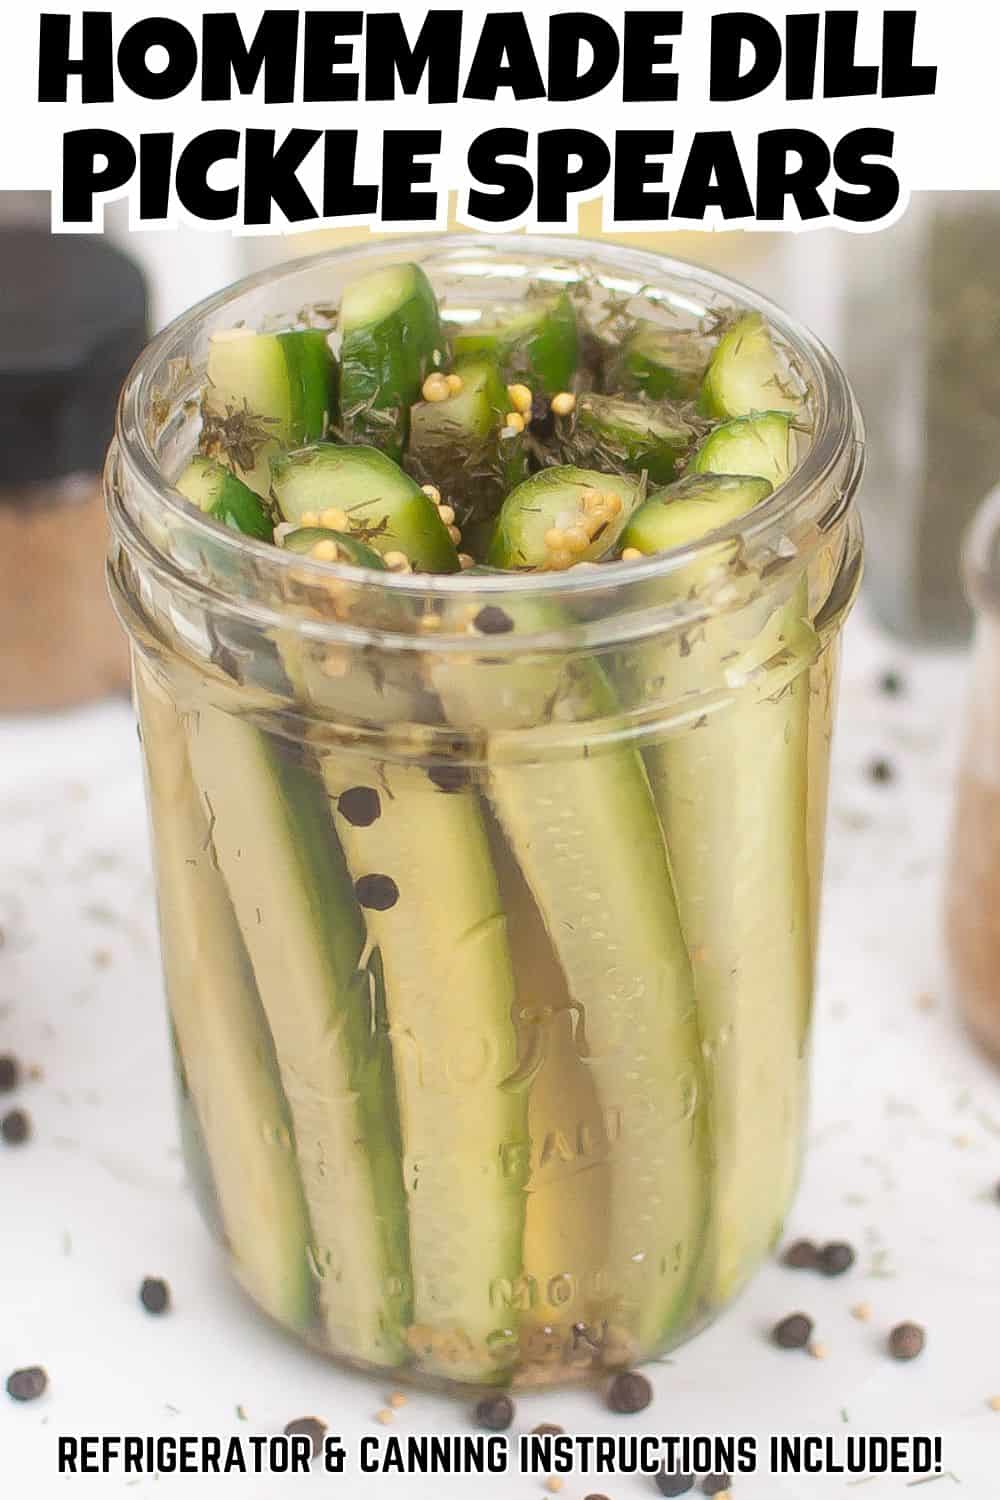
Dill Pickle Spears Recipe (Refrigerator and Canning)
There's nothing better than the crispy crunch of a fresh pickle! And when you see how simple it is to make your own pickles at home, you'll never want to bite into a store-bought spear again! With this easy dill pickle spears recipe, you can easily prepare a batch of quick refrigerator pickles or learn how to can the spears for more long-term storage.
This post contains affiliate links. As an Amazon affiliate, I earn a commission on qualifying purchases.
What Do I Need to Make This Dill Pickle Spears Recipe?
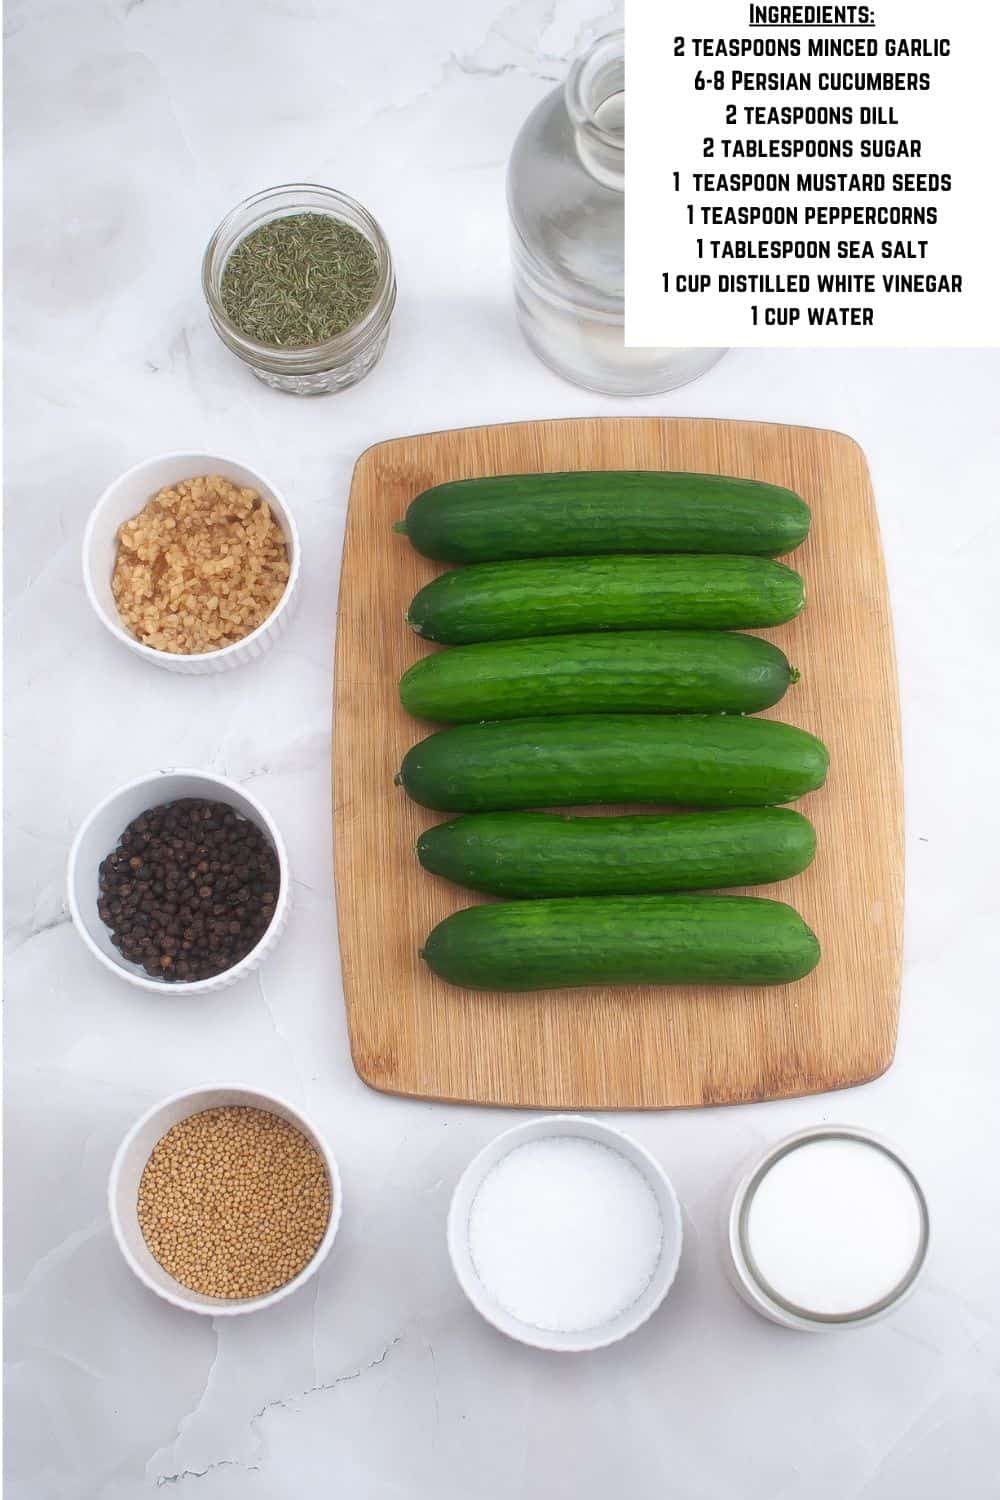
You won't believe just how simple it is to make your own homemade pickles! And the best part about this quick recipe is that you only need a handful of pantry ingredients to prepare them. To make fresh pickles, you'll need:
- Minced garlic
- Persian cucumbers
- Fresh Dill
- Sugar
- Mustard seeds
- Peppercorns
- Sea salt
- Distilled white vinegar
- Water
How Do I Make This Dill Pickle Spears Recipe?
This quick preparation method is a simple way to whip up a batch of fresh pickles without the long process of canning. Just follow these easy instructions to jar your pickles in minutes, then let them cure in the fridge for two days and enjoy!
Step One: Prepare the Brine
Combine the sugar, salt, water, and white vinegar in a medium saucepan. Stir to mix the ingredients, then bring the liquid to a boil over medium heat. When the sugar is dissolved, remove the pan from heat and allow the mixture to cool slightly.
Step Two: Add the Seasoning
Divide the minced garlic, fresh dill, mustard seeds, and peppercorn evenly over two 16-ounce jars.
Step Three: Prep the Cucumbers
Would you like to save this?
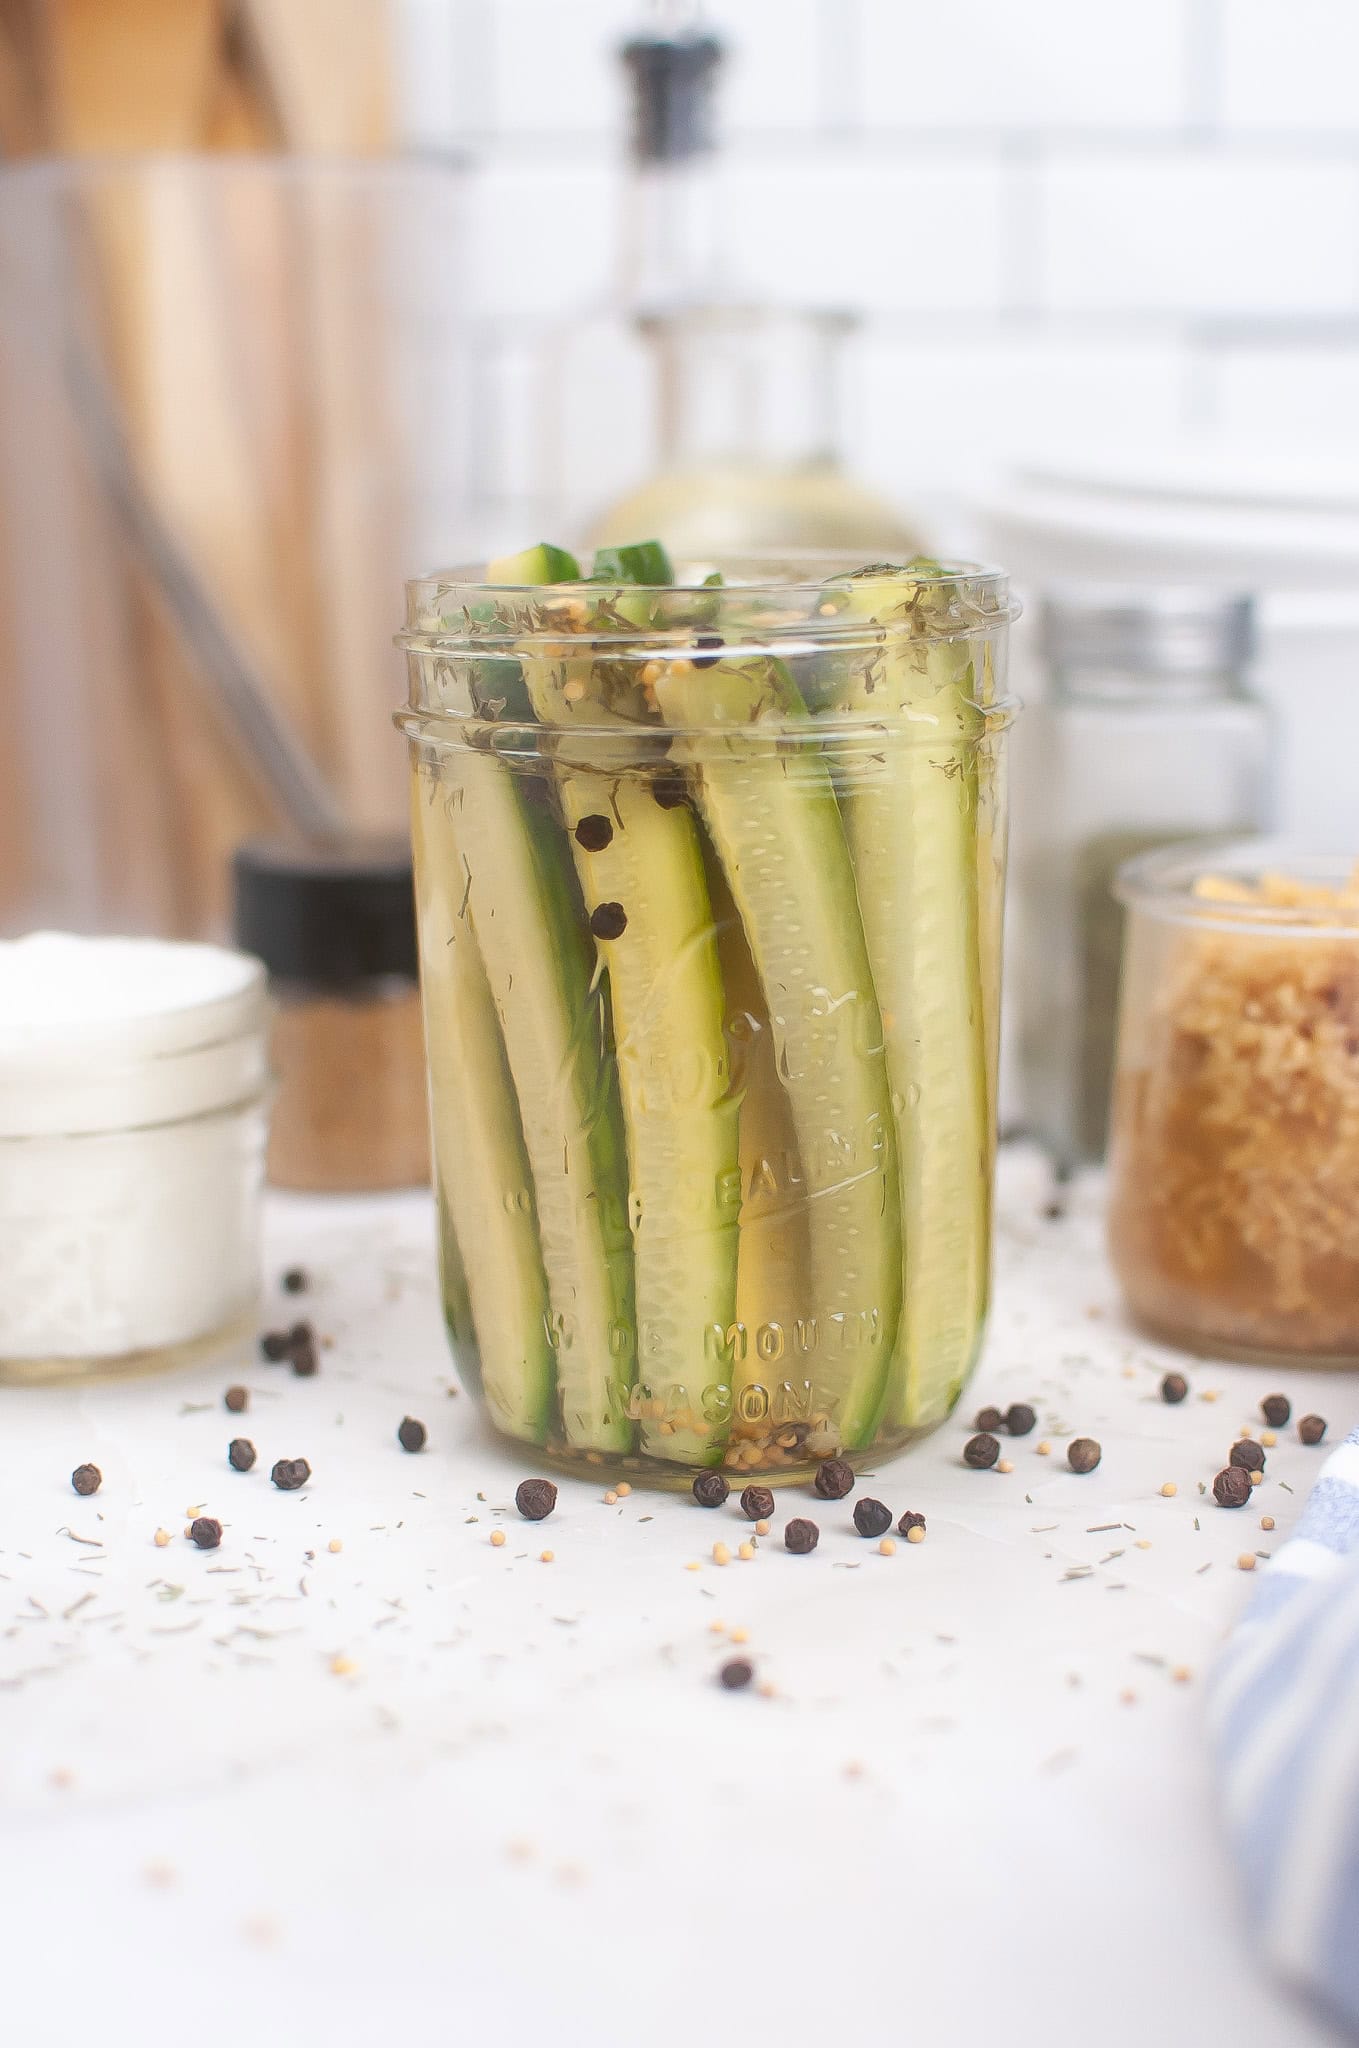
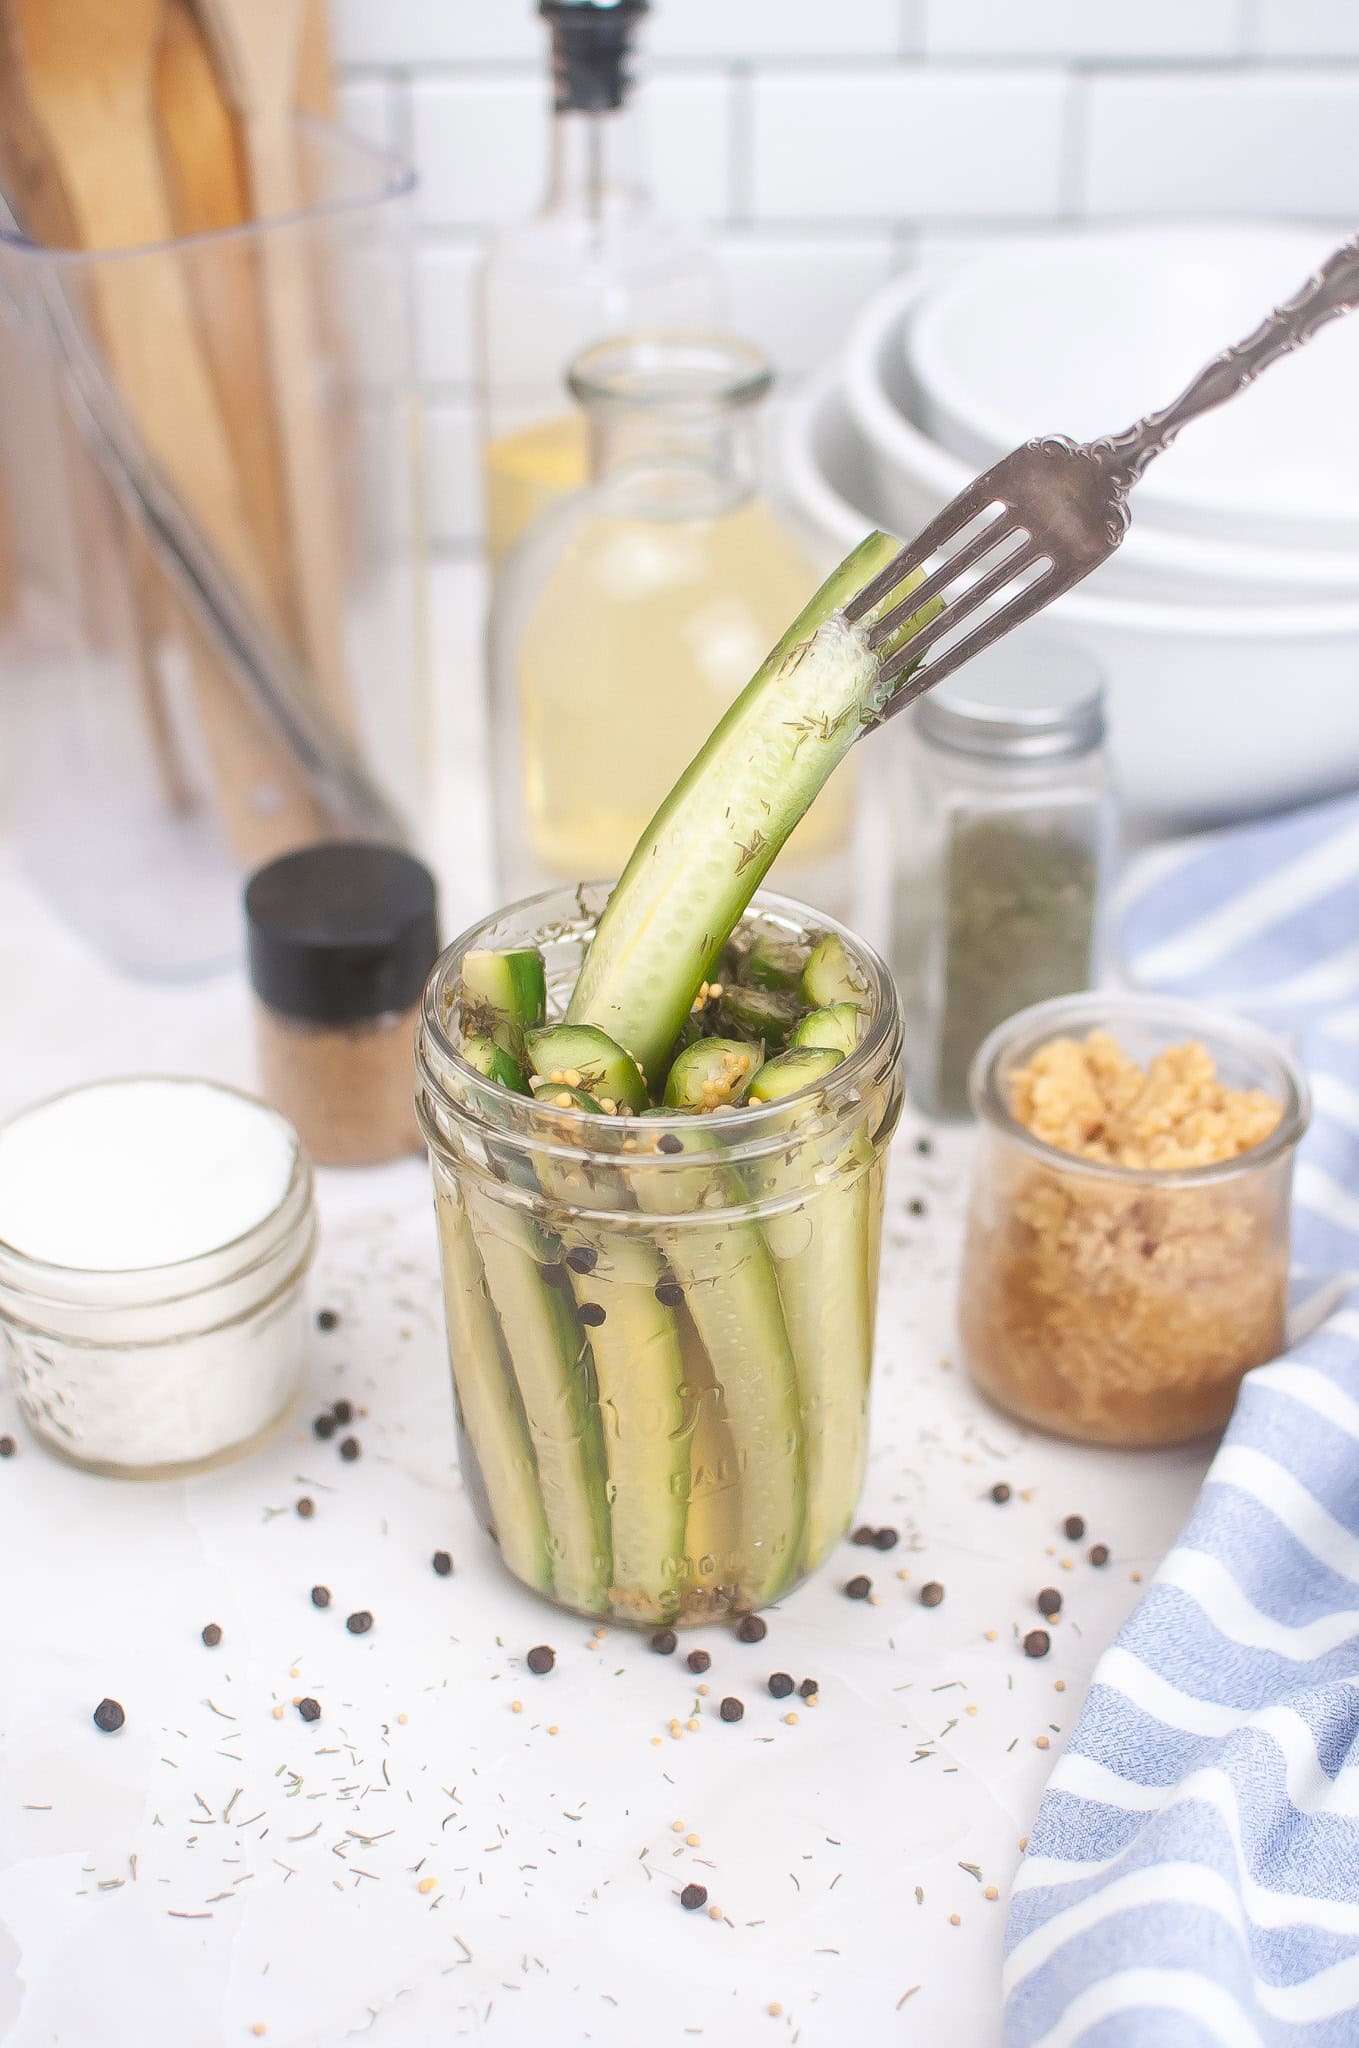
Slice the cucumbers into quarters and place them evenly into each jar on top of the seasoning mixture. Pour the brine over the top of the cucumber spears until all the pieces are fully submerged.
Step Four: Refrigerate the Pickles
Place the lids on the jars and allow the brine to cool to room temperature. Then, transfer the cooled jars to the refrigerator for storage. Keep the jars chilled for at least two days or up to 6 days before eating.
How Do I Can Pickle Spears?
Storing your pickles in the refrigerator is a quick and easy way to prep fresh cucumbers. But if you want to keep your homemade pickles for longer than a few days, it's a good idea to can them instead. Follow these simple instructions for making your pickles jars shelf-stable.
- Prepare the jars. Wash the jars, lids, and rings with warm soapy water and rinse them thoroughly. Place the clean jar pieces in a large pot filled with water. Bring the water to a boil and keep the jars submerged as the water boils for at least 10 minutes to sterilize each piece. After the 10 minutes is up, remove the pan from heat and keep the pieces in the hot water until you're ready to start canning.
- Prepare the pickle ingredients. Bring the vinegar, water, salt, and sugar to a boil over medium heat in a medium saucepan. When the sugar has dissolved, remove the pan from the stove to cool. While the brine is boiling, cut the pickles into quarters.
- Fill the sterilized jars. Arrange the pickle spears in the prepared jars and add the minced garlic, dill, mustard seeds, and peppercorn. Carefully pour the hot brine into the jars, making sure all the pickle spears are fully submerged and leaving around ½ inch of headspace at the top of the jar.
- Seal the jars. Wipe the rims of the jars with a clean, damp cloth to remove extra moisture or brine. Place the clean lids on top of the jars and screw the rings on snugly.
- Process the filled jars. After filling all the jars, place them in a large canning pot or stock pot filled with boiling water. Make sure all the cans are fully covered in water with at least one inch of water above the top. Bring the water to a boil.
- Check the seal. After processing the jars, carefully remove them from the boiling water and allow them to cool. After cooling the jars, press down on the center of the lid to make sure the jars are fully sealed. If the lid does not flex and makes a popping sound, the jar is sealed.
- Store the canned pickles. If the jars aren't properly sealed, store them in the refrigerator. Otherwise, the pickles can be stored in a cool, dark place for up to one year.
How Long Do Homemade Pickles Last?
Making your own pickles at home is a great way to enjoy a fresh treat without worrying about excess chemicals and preservative. And luckily, your fresh pickles will last a while if they're stored properly! The amount of time your pickles will stay good will depend on how you prepare them.
- Refrigerator pickles can be eaten between two and six days after they're prepared. Once the jar has been opened, they should be consumed within one week.
- Canned pickles can be eaten 3 weeks after they're prepared. When stored in a cool, dry place (like a cabinet or pantry), the pickles will stay good for up to a year. After opening the jar, store the leftover pickles in the refrigerator and consume them within one week.
What to Eat with Pickles
Now that you have made these delicious homemade dill pickle spears, it's time to pair them up with the perfect dish! Here are some tasty ideas for what to eat with or put pickles on.
Sandwiches and Burgers
- Classic Cheeseburger: Add a crunch and tang to your juicy beef patty.
- Turkey Club: Elevate your sandwich with a layer of dill pickles.
- Grilled Cheese: A surprising twist that adds a burst of flavor.
- Pulled Pork Sandwich: Balance the richness with some pickle tartness.
Salads
- Potato Salad: Diced pickles add a delightful zing.
- Coleslaw: Mix pickle slices for a refreshing crunch.
- Tuna Salad: Enhance the flavor with chopped pickles.
- Chopped Salad: Toss in pickles for added texture and taste.
Snacks and Appetizers
- Charcuterie Board: Perfectly pairs with meats and cheeses.
- Pickle Wraps: Cream cheese and ham wrapped around a pickle spear.
- Deviled Eggs: Top with pickle slices for a unique garnish.
- Pickle Dip: Blend with cream cheese for a tangy dip.
Main Courses
- BBQ Ribs: Serve pickles on the side to cut through the richness.
- Hot Dogs: Classic topping that never disappoints.
- Fried Chicken: Complements the savory crunch.
- Tacos: Add pickles for a flavor twist.
Creative Combos
- Pickle Pizza: Yes, it's a thing! Adds a unique tangy flavor.
- Pickle Sushi Rolls: Incorporate into homemade sushi for extra crunch.
- Pickle Bloody Mary: Use pickle juice for a zesty cocktail.
- Pickle Ice Cream: For the adventurous palate, a sweet and tangy treat.
These are just a few delicious ways to enjoy your homemade dill pickle spears. Experiment with these ideas and discover your own favorite combinations! Happy pickling!

Dill Pickle Spears Recipe (Refrigerator and Canning)
Ingredients
- 2 teaspoons minced garlic
- 6-8 Persian cucumbers
- 2 teaspoons dill
- 2 tablespoons sugar
- 1 teaspoon mustard seeds
- 1 teaspoon peppercorns
- 1 tablespoon sea salt
- 1 cups distilled white vinegar
- 1 cups water
Instructions
Refrigerator Pickle Instructions:
- To prepare the brine: combine the sugar, salt, water, and vinegar in a medium saucepan. Stir to mix the ingredients, then bring the liquid to a boil over medium heat. When the sugar is dissolved, remove the pan from heat and allow the mixture to cool slightly.
- Next, divide the minced garlic, dill, mustard seeds, and peppercorn evenly over two 16-ounce jars.
- Slice the cucumbers into quarters and place them evenly into each jar on top of the seasoning mixture. Pour the brine over the top of the cucumber spears until all the pieces are fully submerged.
- Place the lids on the jars and allow the brine to cool to room temperature. Then, transfer the cooled jars to the refrigerator for storage. Keep the jars chilled for at least two days or up to 6 days before eating.
Canned Pickle Instructions:
- Prepare the jars: Wash the jars, lids, and rings with warm soapy water and rinse them thoroughly. Place the clean jar pieces in a large pot filled with water. Bring the water to a boil and keep the jars submerged as the water boils for at least 10 minutes to sterilize each piece. After the 10 minutes is up, remove the pan from heat and keep the pieces in the hot water until you’re ready to start canning.
- Prepare the pickle ingredients: Bring the vinegar, water, salt, and sugar to a boil over medium heat in a medium saucepan. When the sugar has dissolved, remove the pan from the stove to cool. While the brine is boiling, cut the pickles into quarters.
- Fill the sterilized jars: Arrange the pickle spears in the prepared jars and add the minced garlic, dill, mustard seeds, and peppercorn. Carefully pour the hot brine into the jars, making sure all the pickle spears are fully submerged and leaving around ½ inch of headspace at the top of the jar.
- Seal the jars: Wipe the rims of the jars with a clean, damp cloth to remove extra moisture or brine. Place the clean lids on top of the jars and screw the rings on snugly.
- Process the filled jars: After filling all the jars, place them in a large canning pot or stock pot filled with boiling water. Make sure all the cans are fully covered in water with at least one inch of water above the top. Bring the water to a boil.
- Check the seal: After processing the jars, carefully remove them from the boiling water and allow them to cool. After cooling the jars, press down on the center of the lid to make sure the jars are fully sealed. If the lid does not flex and makes a popping sound, the jar is sealed.
- Store the canned pickles: If the jars aren’t properly sealed, store them in the refrigerator. Otherwise, the pickles can be stored in a cool, dark place for up to one year.


One Comment