5 Air Fryer Mistakes Everyone Makes (And How to Fix Them)
If you're new to air frying-or even if you've been using your air fryer for a while-you might be making some common mistakes that are keeping your food from reaching its full crispy potential.
As a Registered Nurse and busy home cook, I rely on my air fryer almost daily to create healthy, delicious meals for my family. Over the years, I've learned exactly what works (and what doesn't!) when it comes to air frying.
Today, I'm sharing the 5 most common air fryer mistakes I see people make, plus the simple fixes that will help you achieve restaurant-quality results at home.
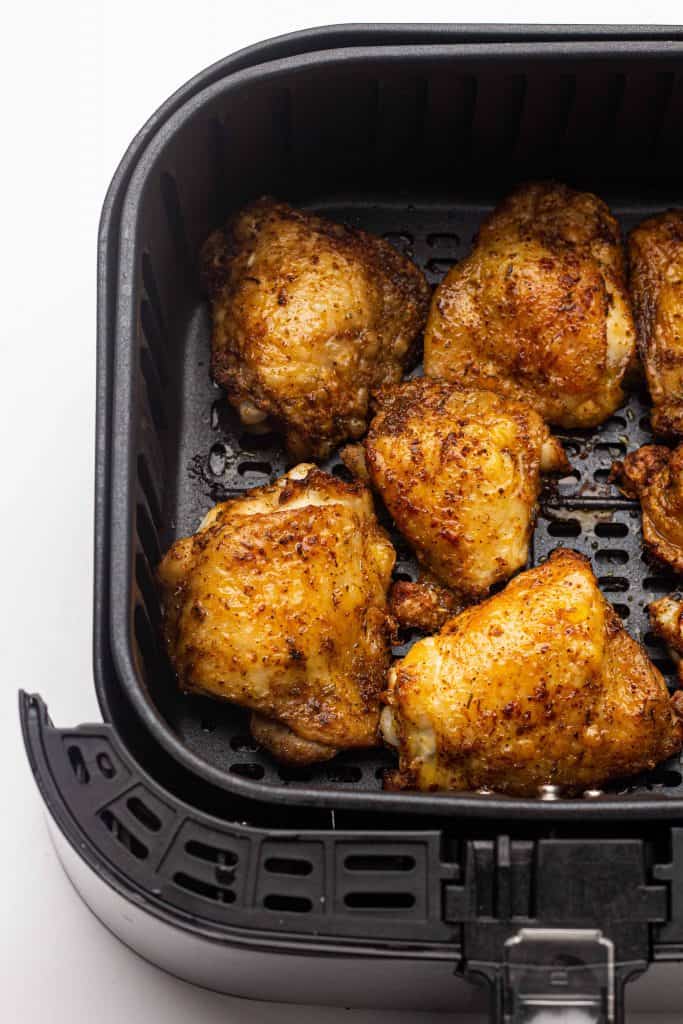
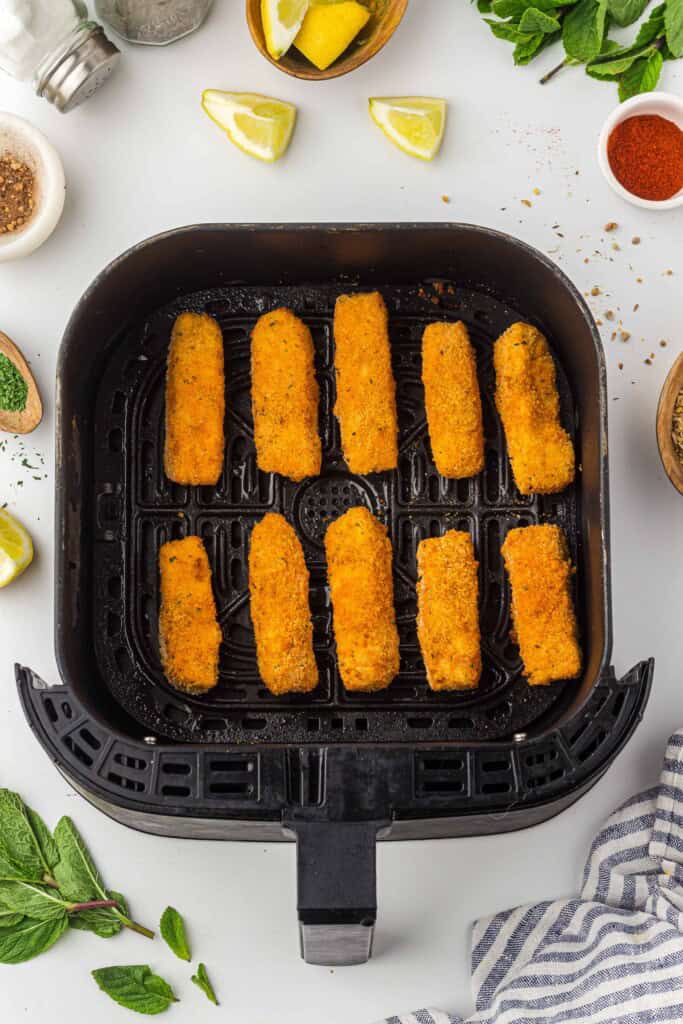
Mistake #1: Overcrowding the Basket
This is hands-down the most common mistake I see, and I totally get it-you want to cook everything at once to save time. But here's the problem: air fryers work by circulating hot air around your food. When you pile too much in the basket, that air can't circulate properly, and you end up with unevenly cooked food that's soggy in some spots and overdone in others.
Why This Happens
Your air fryer needs space between food items for the hot air to flow. Think of it like a convection oven on steroids-the rapid air circulation is what creates that crispy exterior we all love. Block that airflow, and you're essentially steaming your food instead of air frying it.
The Fix
Cook food in a single layer with a little breathing room between pieces. Yes, this might mean cooking in batches, but I promise the extra 5-10 minutes is worth it for perfectly crispy results.
Pro tip: If you're cooking for a crowd, keep finished batches warm in a 200°F oven while you cook the rest. Everything stays hot and crispy!
Mistake #2: Skipping the Preheat
Would you put a pizza in a cold oven? Of course not! The same principle applies to your air fryer. Many people skip the preheat step to save time, but this simple 3-5 minute step makes a huge difference in your final results.
Why This Matters
Starting with a preheated air fryer ensures even cooking from the moment your food goes in. It also helps achieve better browning and crisping on the outside while keeping the inside perfectly cooked.
From a food science perspective, that initial blast of high heat is what starts the Maillard reaction-the chemical process that creates those delicious browned, crispy surfaces and complex flavors.
The Fix
Always preheat your air fryer for 3-5 minutes before adding food. Most modern air fryers have a preheat function, but if yours doesn't, simply run it empty at your cooking temperature for a few minutes.
Use this time to finish prepping your ingredients-by the time you're ready, your air fryer is too!
Mistake #3: Not Shaking or Flipping Your Food
I know the "set it and forget it" mentality is tempting, but air fryers aren't slow cookers. For the best results, you need to shake or flip your food at least once during cooking.
Why You Need to Do This
Even though hot air circulates around your food, the pieces that are in direct contact with the basket or touching each other won't get as crispy. Shaking or flipping ensures every surface gets equal exposure to that hot air.
The Fix
For smaller items like fries, vegetables, or chicken bites, shake the basket halfway through cooking. For larger items like chicken breasts or fish fillets, flip them once at the midway point.
Here's my exact timing strategy:
For items with 15+ minute cook times: Shake or flip at the halfway mark
For items with 20+ minute cook times: Shake at the ⅓ mark and ⅔ mark for even better results
For very small items (like chickpeas): Shake every 5 minutes
Mistake #4: Using the Wrong Temperature Conversions
One of the most common questions I get is: "Can I use my regular oven recipes in the air fryer?" The answer is yes-but you need to adjust both temperature and time.
The Problem
Air fryers cook faster and hotter than conventional ovens because of their compact size and powerful air circulation. Use the same temperature and time as your oven recipe, and you'll end up with burnt food.
The Fix
Here's the general rule for converting oven recipes to air fryer:
- Reduce temperature by 25°F (for example, 400°F becomes 375°F)
- Reduce cooking time by about 20-25%
- Start checking for doneness a few minutes early
Keep in mind that every air fryer is slightly different. The first time you make a recipe, check it a bit early and take notes. Once you learn your specific air fryer's quirks, you'll be able to adjust perfectly every time.
Mistake #5: Going Completely Oil-Free (When You Shouldn't)
I know, I know-air fryers are marketed as a way to cook without oil. And while it's true that you can use significantly less oil than traditional frying, going completely oil-free isn't always the best choice.
The Truth About Oil and Air Frying
As a registered nurse, I'm all about healthy eating. But here's what most people don't realize: a small amount of oil isn't the enemy-it's actually essential for achieving that golden, crispy exterior we all love.
Oil serves several important purposes:
- Helps conduct heat to the food's surface
- Promotes browning and crisping
- Helps seasonings stick to food
- Adds flavor and improves texture
The Fix
Would you like to save this?
You don't need much-just 1-2 teaspoons for a whole batch of food. Compare that to deep frying, which can use several cups of oil, and you're still using 75-90% less oil!
Here's when you need oil:
- Fresh vegetables (toss with a teaspoon of oil)
- Lean proteins like chicken breast (spray lightly)
- Breaded items (spray the coating)
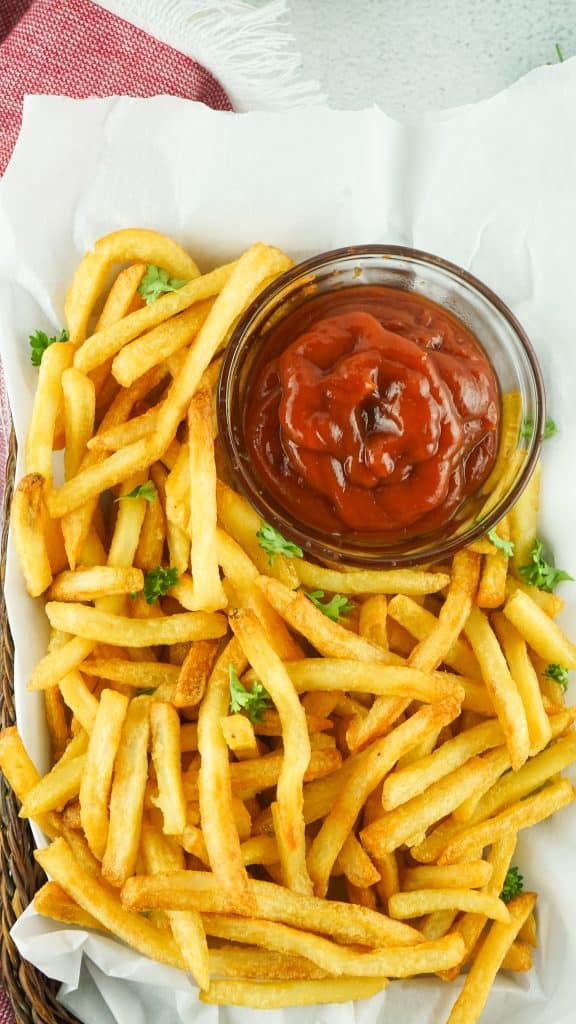
- Homemade fries or potato wedges (toss to coat)
You can skip the oil for:
- Frozen foods that are already coated
- Fatty proteins like salmon or chicken thighs
- Foods with natural oils (like bacon)
Bonus Tips for Air Fryer Success
Now that you know the five big mistakes to avoid, here are a few extra tips that will take your air frying to the next level:
1. Pat Food Dry
Excess moisture is the enemy of crispiness. Before air frying, pat proteins and vegetables dry with paper towels. This is especially important for chicken, fish, and any vegetables that have been washed.
2. Don't Spray Directly Into the Basket
Aerosol cooking sprays can damage the non-stick coating on your air fryer basket over time. Instead, toss food with oil in a bowl or use a refillable oil spray bottle.
3. Use a Meat Thermometer
Don't guess when it comes to doneness, especially with poultry and pork. Invest in a good instant-read thermometer:
- Chicken: 165°F
- Pork: 145°F
- Beef/lamb: 145°F for medium-rare, 160°F for medium
- Fish: 145°F
4. Season Generously
Air frying can sometimes dull flavors slightly, so don't be shy with your seasonings. I typically use a bit more salt, pepper, and spices than I would for oven-roasted foods.
5. Keep a Cook Time Reference Handy
Download an air fryer cook times chart (like my free Air Fryer Cook Times Cheat Sheet!) and keep it on your fridge. Having those times at your fingertips takes the guesswork out of cooking.
Putting It All Together
Let's say you're making air fryer chicken wings tonight. Here's how you'd apply everything we've covered:
1. Pat the wings completely dry (bonus tip #1)
2. Toss with 1 tablespoon oil and season generously (mistake #5 fix + bonus tip #4)
3. Preheat air fryer to 400°F for 3 minutes (mistake #2 fix)
4. Arrange wings in a single layer with space between them (mistake #1 fix)
5. Cook for 22 minutes, flipping halfway through at the 11-minute mark (mistake #3 fix)
6. Check internal temperature reaches 165°F (bonus tip #3)
The result? Perfectly crispy wings with juicy meat inside-better than any restaurant!
[IMAGE: Perfectly cooked crispy chicken wings]
Your Action Plan
Pick one recipe you've been wanting to make in your air fryer and apply these fixes:
✓ Preheat for 3-5 minutes
✓ Cook in a single layer
✓ Use a small amount of oil
✓ Shake or flip halfway through
✓ Adjust temperature and time if converting from an oven recipe
I guarantee you'll notice a huge difference in your results!
Final Thoughts
These five mistakes are incredibly common, and fixing them is simple. The beauty of air fryers is that once you understand how they work and what they need to perform their best, you can create restaurant-quality food at home with minimal effort.
As someone who's passionate about both nutrition and practical cooking, I love that air fryers make it easier to prepare healthy meals that actually taste amazing. No more choosing between health and flavor!
Have questions about air frying? Drop them in the comments below-I read every single one and love helping fellow air fryer enthusiasts!
Happy air frying!
Angela