
The 2-Minute Air Fryer Cleaning Routine (Plus Monthly Deep Clean Guide)
Let's be honest-cleaning is nobody's favorite kitchen task. But as a registered nurse who knows a thing or two about food safety (and as someone who uses her air fryer daily), I've learned that keeping your air fryer clean isn't just about making it last longer-it's about protecting your family's health and making sure your food tastes its best.
The good news? I've perfected a cleaning routine that takes literally 2 minutes after each use. Follow this simple system, and you'll never have to deal with baked-on gunk or that weird smell that makes everything taste off.
This post contains affiliate links. As an Amazon Affiliate, I earn a commission on qualifying purchases.
Why Cleaning Your Air Fryer Actually Matters
Before we get into the how-to, let me give you the nursing perspective on why this matters:
Food Safety
Old food particles and grease build-up can:
- Harbor harmful bacteria that contaminate your next meal
- Create cross-contamination between different foods
- Become breeding grounds for mold in humid conditions
- Transfer allergens from one meal to another
Food Quality
A dirty air fryer affects how your food tastes and cooks:
- Old grease creates smoke and unpleasant smells
- Yesterday's flavors transfer to today's dinner
- Build-up blocks airflow, leading to uneven cooking
- Burnt particles stick to fresh food
Appliance Longevity
Regular cleaning:
- Prevents damage to the non-stick coating
- Keeps the heating element functioning properly
- Prevents smoke and burning that can damage internal components
- Extends the life of your air fryer by years
The 2-Minute Post-Cooking Routine
This is the game-changer. Do this after EVERY use, and you'll never have to scrub baked-on mess again.
Step 1: Act While It's Still Warm (30 seconds)
Don't wait until after dinner! Remove the basket immediately after cooking and let it cool for just 2-3 minutes. Food residue is 100x easier to clean when it hasn't had a chance to harden and bond to the surface.
Pro tip: Set a timer when you pull the food out. After 2-3 minutes, the basket is cool enough to handle but still warm enough for easy cleaning.
Step 2: Wipe the Main Unit (15 seconds)
While the basket cools, dampen a microfiber cloth or paper towel and wipe out the inside of the main unit. Any splatters or drips will come right off when they're still warm.
Important: Make sure the unit is unplugged and cooled enough to safely handle. Never submerge the main unit in water!
Step 3: Quick Basket Soak (5 minutes, mostly hands-off)
Fill your sink or a large bowl with hot water and a squirt of dish soap. Drop the basket and tray in there and let them soak while you eat dinner. The hot soapy water does most of the work for you.
Water temperature tip: The hotter the better (within reason-you still need to put your hands in it!). Hot water helps dissolve grease.
Step 4: Quick Scrub (1 minute)
After soaking, use a soft sponge (never steel wool or abrasive scrubbers!) to give everything a quick scrub. Food slides right off.
For stubborn spots: Use a soft-bristled brush or old toothbrush to get into the mesh/holes. Don't scrub too hard-you'll damage the coating.
Step 5: Dry Completely (30 seconds)
This step is crucial! Use a clean dish towel or let air dry completely before putting back together. Storing damp parts can lead to:
- Musty smells
- Mold growth
- Damage to electrical components
- Rust on metal parts
The Monthly Deep Clean (15-20 minutes)
Even with diligent daily cleaning, you'll want to deep clean monthly. Here's my complete process:
For the Basket and Tray
The Baking Soda Paste Method:
1. Mix 2-3 tablespoons baking soda with just enough water to make a paste
2. Spread paste on any stubborn spots or stains
3. Let sit for 15 minutes (do other cleaning during this time)
4. Scrub gently with soft sponge
5. Rinse thoroughly
Why baking soda works: It's mildly abrasive (won't scratch coating) and alkaline (helps break down grease). Plus it's food-safe!
For the Heating Element
This is often overlooked but super important!
1. Unplug and let cool completely
2. Turn air fryer upside down
3. Use a damp cloth to gently wipe the heating coil
4. For stuck-on bits, use a soft brush (old toothbrush works great)
5. Wipe again with clean damp cloth
6. Let dry completely before using
Warning: Be gentle! The heating element is delicate. Never use harsh chemicals or scrub aggressively.
For Heavy Grease Build-up
The Soaking Method:
1. Fill basket with hot water and dish soap
2. Add 2 tablespoons baking soda
3. Let soak for 30 minutes to 1 hour
4. The grease will lift right off with minimal scrubbing
For really stubborn grease: Add a splash of white vinegar to the soaking water. The combination of baking soda and vinegar creates a fizzing action that helps break down grease.
For the Drip Tray/Drawer
This often-forgotten component needs monthly attention:
1. Remove and empty any accumulated grease/drippings
2. Wash with hot soapy water
3. For baked-on residue, use baking soda paste method
4. Dry completely before reinserting
Preventing Stuck-On Messes (My Favorite Tricks)
An ounce of prevention is worth a pound of scrubbing! Here are my best tips:
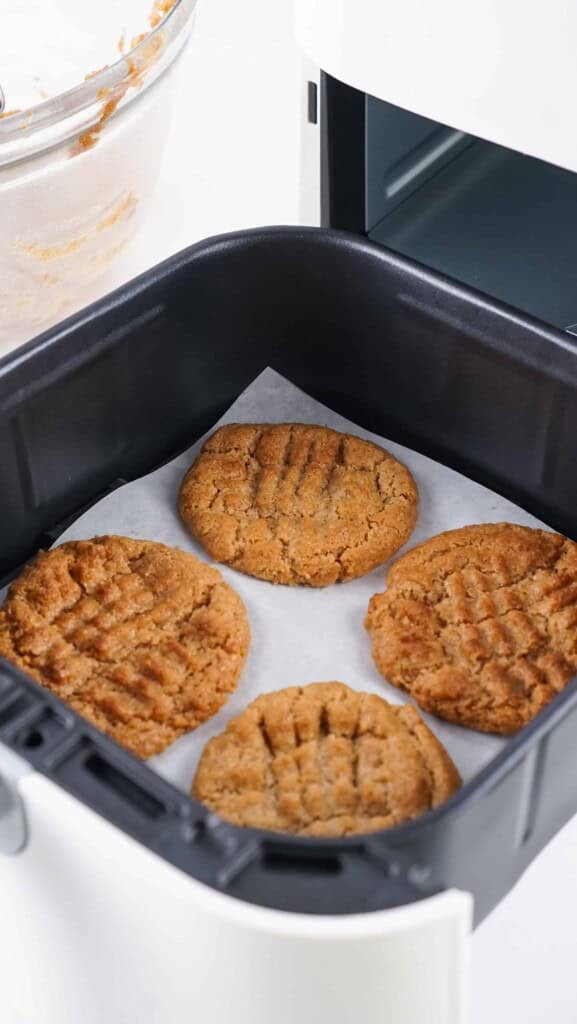
1. Parchment Paper Liners
Game changer alert! Get perforated parchment paper liners specifically designed for air fryers.
Benefits:
- Catches drips and crumbs
- Prevents food from sticking
- Makes cleanup almost instant
- Protects non-stick coating
Critical: Only use perforated liners! Solid parchment blocks airflow. And never preheat with just the liner-put food on top to weigh it down or it might blow up into the heating element.
2. Light Oil Spray Before Cooking
A quick spray of oil in the empty basket before adding food creates a barrier that prevents sticking. This is especially helpful for:
- Eggs
- Cheese-based foods
- Sticky marinades
- Breaded items
3. Avoid Aerosol Cooking Sprays
Important: Aerosol sprays like PAM contain additives (lecithin and propellants) that can damage non-stick coating over time, creating a sticky residue that's hard to remove.
Better alternatives:
- Refillable oil spray bottle (Misto is a popular brand)
- Brush oil on with pastry brush
- Toss food with oil in a bowl
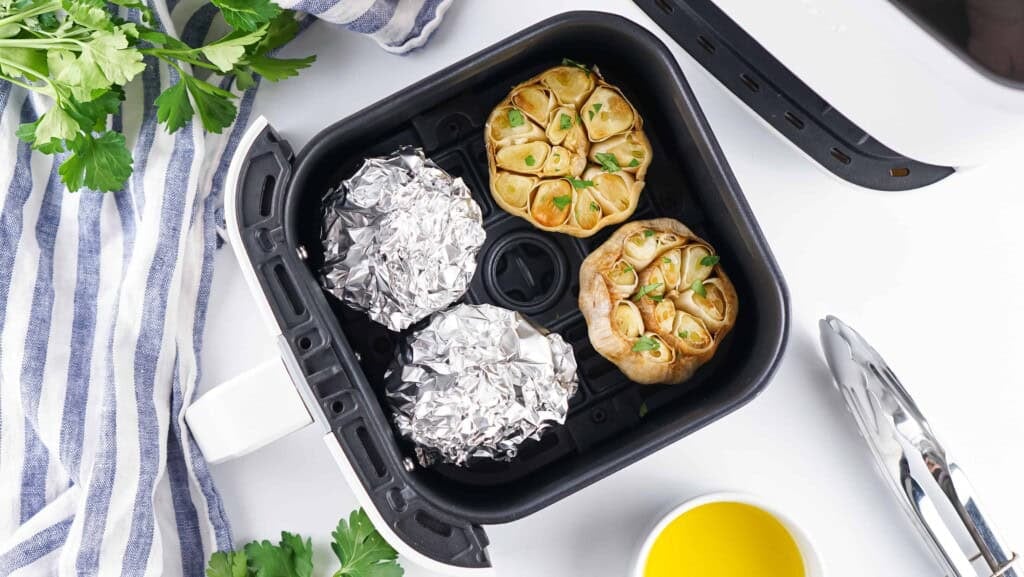
4. The Foil Trick (For Really Messy Foods)
For sticky marinades or extra-greasy foods, line the basket with aluminum foil:
1. Cut foil slightly smaller than basket bottom
2. Poke several holes for air circulation
3. Shape to fit basket contours
4. Toss foil when done-instant cleanup!
Note: This slightly reduces crispiness due to reduced air contact, so only use for extra-messy recipes.

5. Water in the Drip Tray
When cooking fatty proteins (bacon, sausage, chicken thighs), add a tablespoon of water to the drip tray before cooking. This:
- Catches dripping fat
- Prevents smoke from grease burning
- Makes cleanup easier (just pour out greasy water)
Troubleshooting Common Cleaning Issues
Even with the best routine, problems can pop up. Here's how to fix them:
Problem: Smoke Coming From Air Fryer
Cause: Grease build-up in the drip tray or bottom of unit
Immediate fix:
1. Stop cooking and unplug
2. Let cool
Would you like to save this?
3. Empty and clean drip tray
4. Wipe out bottom of main unit
Prevention: Empty drip tray after every use, especially when cooking fatty foods. Add water to tray when cooking bacon, sausage, or other fatty proteins.
Problem: Weird Smell or Off Taste
Cause: Old food particles or grease build-up, or not cleaning heating element
Fix:
1. Do a complete deep clean (basket, tray, heating element, main unit)
2. Cut a lemon in half and place in basket
3. Air fry at 400°F for 3 minutes
4. Wipe everything down with white vinegar
5. Air dry completely
Prevention: Clean after every use, deep clean monthly, and clean the heating element regularly.
Problem: Food Sticking to Basket
Causes:
- Non-stick coating wearing down
- Not using enough oil
- Cooking at too high temperature
- Using metal utensils
Solutions:
- Use parchment liners to protect coating
- Increase oil slightly
- Only use silicone, wood, or plastic utensils
- If coating is damaged, consider replacing basket or buying new air fryer
Problem: Uneven Cooking
Possible cleaning-related cause: Build-up blocking air vents or on heating element
Fix:
1. Check all air vents (usually on back or sides) for blockages
2. Clean vents with soft brush or damp cloth
3. Deep clean heating element
4. Make sure nothing is blocking fan
Problem: White Residue on Basket
Cause: Hard water deposits or dishwasher detergent (if you put basket in dishwasher)
Fix:
1. Soak basket in equal parts white vinegar and water for 30 minutes
2. Scrub with soft brush
3. Rinse thoroughly
4. For stubborn deposits, make a paste with vinegar and baking soda

What NOT to Do (Common Mistakes That Damage Your Air Fryer)
❌ Don't Use Abrasive Scrubbers
Steel wool, scouring pads, or abrasive sponges will scratch and damage the non-stick coating. Once damaged, food will stick more and the coating can flake off into your food.
Use instead: Soft sponges, microfiber cloths, soft-bristled brushes
❌ Don't Put Parts in Dishwasher (Unless Manual Says It's Safe)
Many air fryer parts, especially those with non-stick coating, can be damaged by:
- High heat of dishwasher
- Harsh detergents
- Rattling against other dishes
Exception: Some newer models have dishwasher-safe parts. Check your manual!
❌ Don't Use Harsh Chemical Cleaners
Oven cleaners, bleach, ammonia, and other harsh chemicals can:
- Damage non-stick coating
- Leave residue that gets into your food
- Corrode metal parts
Stick to: Dish soap, baking soda, white vinegar, lemon
❌ Don't Submerge the Main Unit
This should be obvious, but I'll say it anyway: The main unit contains electrical components and should NEVER be submerged in water or put under running water.
Cleaning method: Wipe with damp cloth only
❌ Don't Store When Parts Are Damp
Storing damp parts creates the perfect environment for:
- Mold and mildew
- Musty smells
- Corrosion
- Bacterial growth
Always: Dry completely with towel or air dry before reassembling and storing
❌ Don't Ignore Your Manual
Every air fryer model is slightly different. Your manual may have specific cleaning instructions or warnings for your particular model. When in doubt, check the manual!
Your Complete Cleaning Schedule
Here's your at-a-glance cleaning schedule:
After Every Use (2 minutes):
✓ Wipe main unit while warm
✓ Soak basket in hot soapy water
✓ Quick scrub with soft sponge
✓ Dry completely
✓ Empty drip tray
Weekly (5 minutes):
✓ Check heating element for build-up
✓ Wipe exterior
✓ Check air vents for blockages
Monthly (15-20 minutes):
✓ Deep clean basket with baking soda paste
✓ Clean heating element thoroughly
✓ Deep clean drip tray
✓ Clean all air vents
✓ Freshen with lemon if needed
DOWNLOAD PRINTABLE CLEANING GUIDE HERE
The Food Safety Perspective
As a Registered Nurse, I want to emphasize the food safety aspects of keeping your air fryer clean:
Cross-Contamination Prevention
Old food particles can harbor bacteria that contaminate your next meal. This is especially concerning with:
- Raw-to-cooked transitions (cook raw chicken, then vegetables in dirty basket)
- Allergen transfer (peanut residue contaminating next batch)
- Bacteria growth in grease build-up
When to Deep Clean Immediately
Certain situations require immediate deep cleaning:
- After cooking raw poultry
- When switching between allergen-containing foods
- After cooking extra-greasy foods
- If you notice any mold or unusual smells
Quick Cleaning FAQs
Q: Can I put my air fryer basket in the dishwasher?
A: Check your manual. Some newer models have dishwasher-safe parts, but many don't. The high heat and harsh detergents can damage non-stick coating. Hand washing is safer and takes just 2 minutes with my method.
Q: How do I know when my air fryer needs a deep clean?
A: Signs include: smoke when cooking, off smells, sticky residue, visible build-up on heating element, or food tasting weird. Don't wait for these signs-deep clean monthly as prevention.
Q: Is it normal for my air fryer to smell when new?
A: Yes! New air fryers often have a "plasticky" smell from manufacturing. Run it empty at 400°F for 10-15 minutes before first use. The smell should dissipate. If it persists after several uses, contact the manufacturer.
Q: My air fryer basket has stubborn stains. Will they affect cooking?
A: Staining is cosmetic and won't affect cooking or safety if you're cleaning regularly. However, try the baking soda paste method to lift stains. If that doesn't work, it's just discoloration and nothing to worry about.
Final Thoughts
Keeping your air fryer clean doesn't have to be a chore. With this 2-minute daily routine, you'll never have to face baked-on mess again. Your air fryer will cook better, last longer, and keep your food safe and delicious.
Set a monthly reminder on your phone for deep cleaning, and you're all set! Your future self will thank you.
What's your biggest air fryer cleaning challenge? Drop a comment below-I'd love to help troubleshoot!
Keep it clean and healthy,
Angela